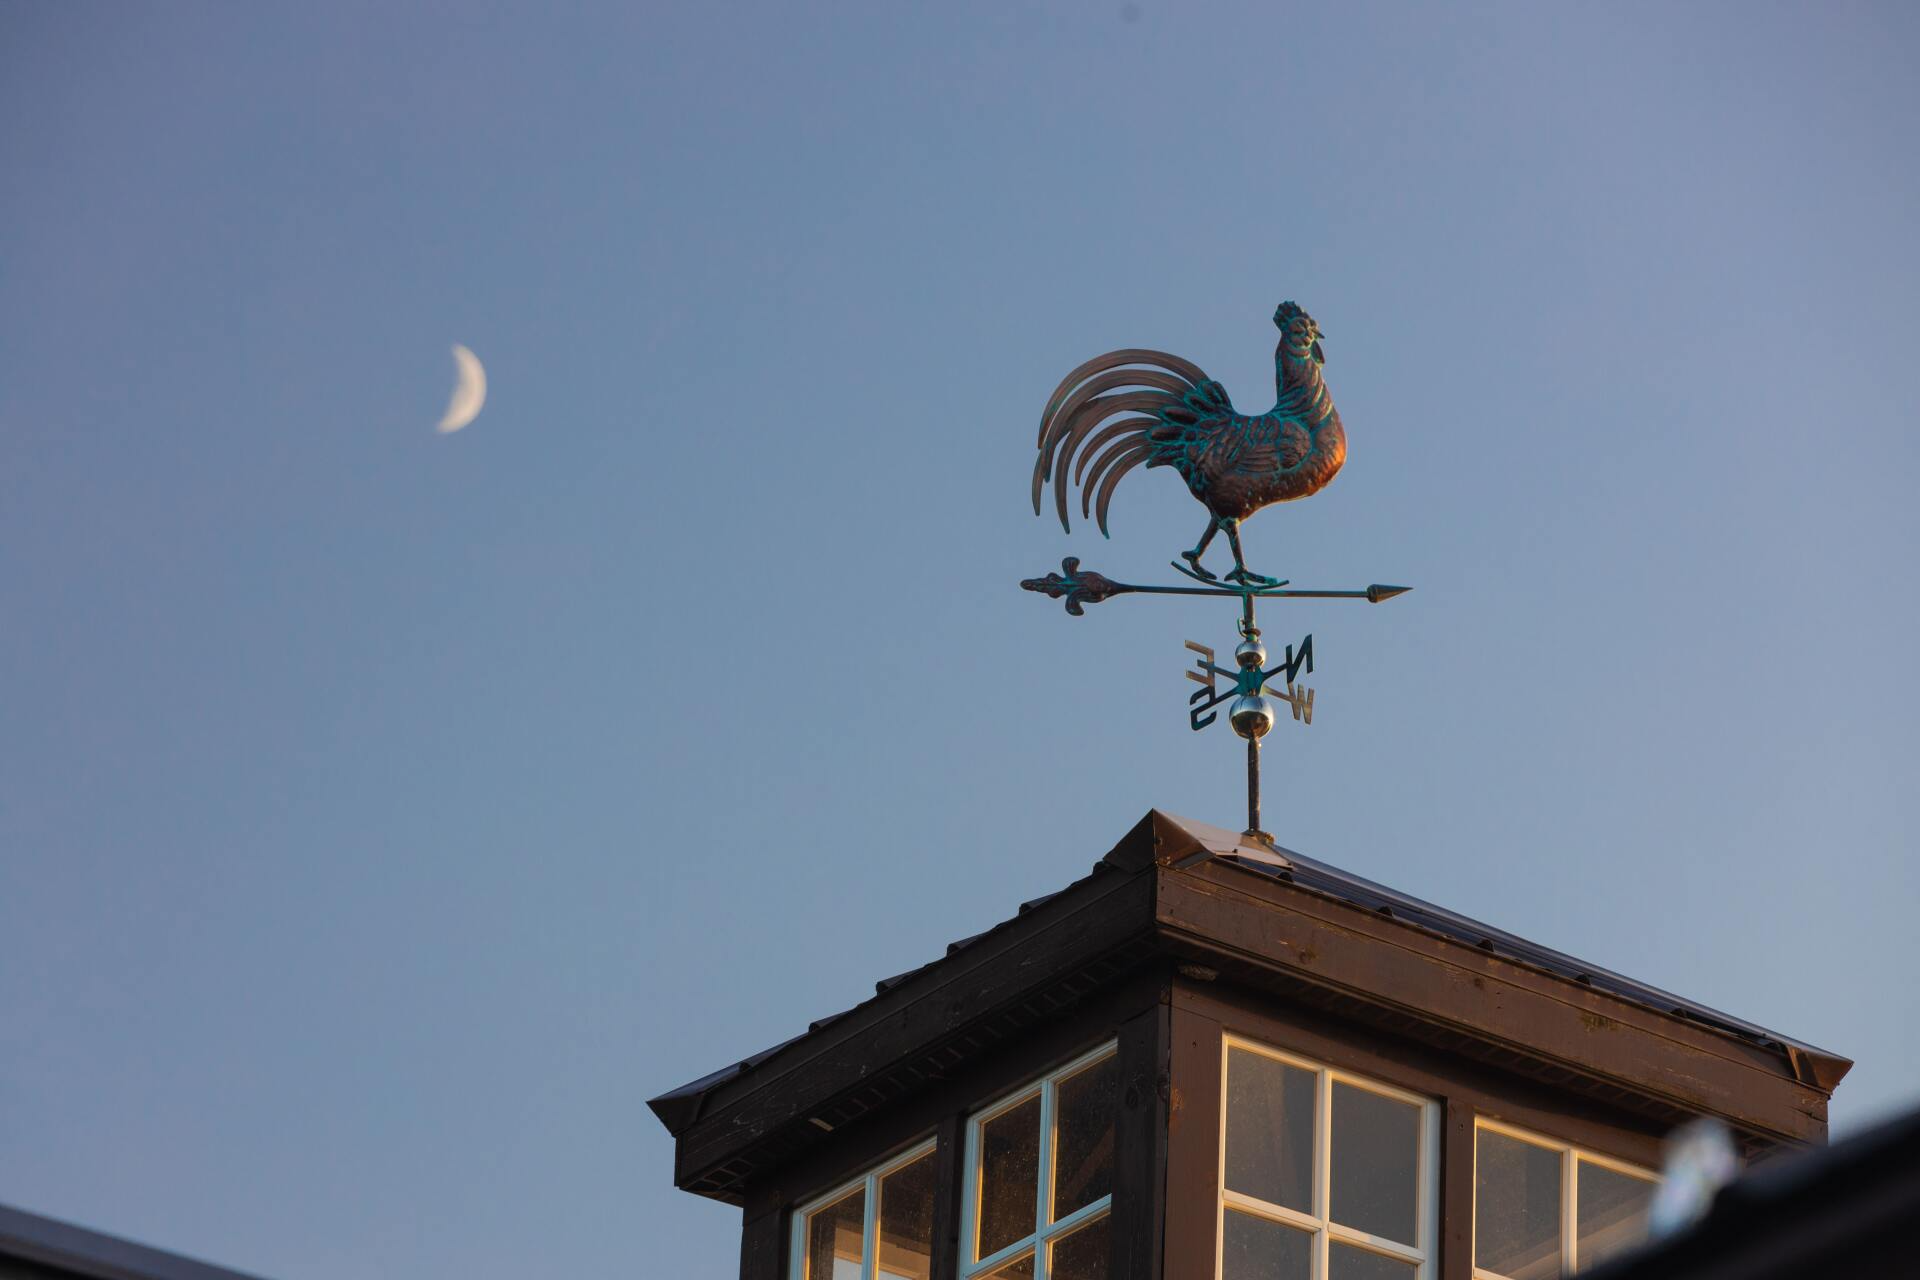
How To Install Your Royal Crowne Weathervane

A Finishing Touch That Points You in the Right Direction
A cupola with a weathervane adds timeless charm while indicating wind direction. Whether you're a homeowner or professional installer, this guide explains how to install a weathervane, covering the necessary tools, preparation, assembly, mounting, and final adjustments for your Royal Crowne weathervane.
Set Yourself Up for a Successful Weathervane Installation
Before you begin your weathervane installation, gather the necessary tools and materials, confirm mounting compatibility, and review the following steps to avoid delays or complications.
Gather Your Tools and Materials
To prepare for installation, make sure you have the necessary equipment on hand:
- Royal Crowne weathervane and included components
- Compatible mounting bracket (roof, cupola, deck, or post mount)
- Mounting rod and supplied set screws
- Mounting screws appropriate for your installation surface (not included with EZ Vane mounts)
- Screwdriver or drill with appropriate bits
- Wrench or Allen key, depending on the supplied hardware
- Compass for aligning directional indicators
- Level and measuring tape
- Ladder and appropriate fall-protection equipment
- Manufacturer-approved sealant, if required for roof penetrations
Note:
Required tools and materials may vary by weathervane model and mounting method. Confirm the specific installation requirements before beginning.
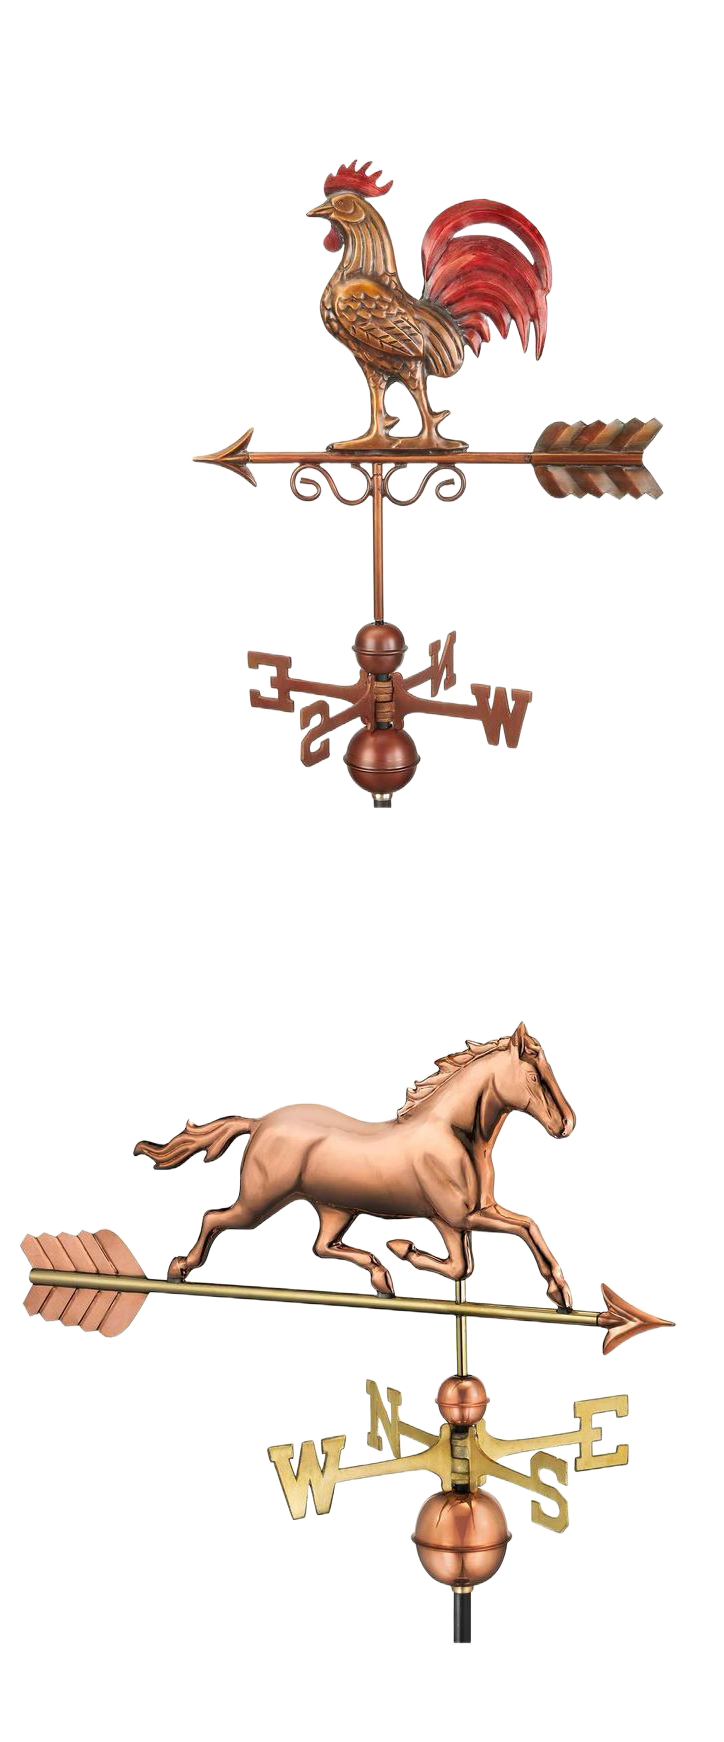
Check Your Cupola and Mounting Location
Before installing your cupola weathervane, make sure the cupola is securely attached, properly sized, and compatible with your chosen mounting hardware. Check that the installation area is safely accessible and provides adequate support. If you're still selecting a cupola,
review our cupola sizing guide to find the right fit for your property.
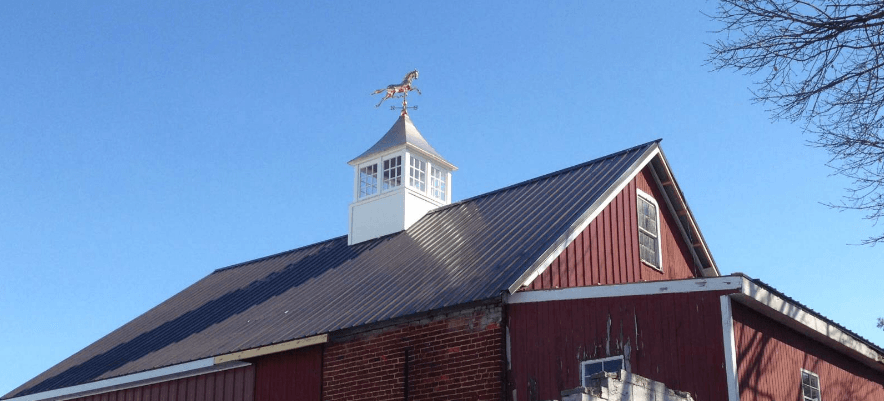
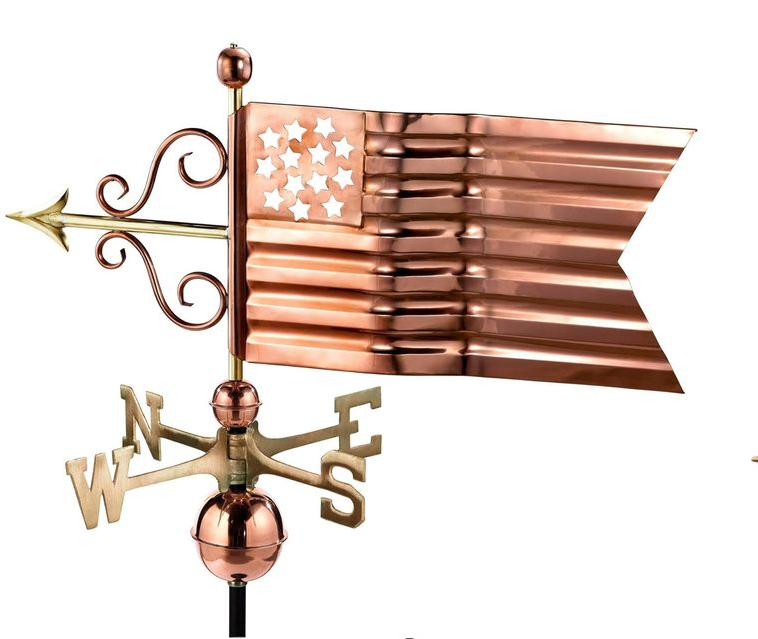
How to Mount a Weathervane on a Roof Without a Cupola
You don't need a cupola to enjoy a rooftop weathervane! Some models can be mounted directly to your roof using a compatible mounting bracket.
Choose a bracket suited to your roof's pitch and structure, then secure it to an appropriate structural support following the manufacturer's instructions. Properly seal any roof penetrations to prevent leaks, and make sure your weathervane is level, securely attached, and able to rotate freely.

A Few Final Checks Before You Call It Finished
Before enjoying your weathervane, take a moment to double-check the following:
- Mounting Hardware: Are all brackets, rods, and fasteners securely attached?
- Directional Indicators: Are the N, S, E, and W markers properly aligned?
- Free Movement: Does the weathervane rotate without resistance or obstruction?
- Weatherproofing: Are all necessary mounting points sealed against moisture?
- Clearance: Is the weathervane positioned away from nearby roofing elements or other obstructions?
Questions About Your Weathervane Installation?
Your rooftop deserves more than an ordinary finishing touch. Add character and movement with a Royal Crowne weathervane. From choosing the perfect design to understanding how to install a weathervane, we'll help you bring your vision to life. Contact us today to get your project started!