How to Install A Mailbox Post
Step-by-step instructions for installing your Royal Crowne mailbox post, from setting the 4x4 and concrete base to mounting your Amish mailbox at the proper height.
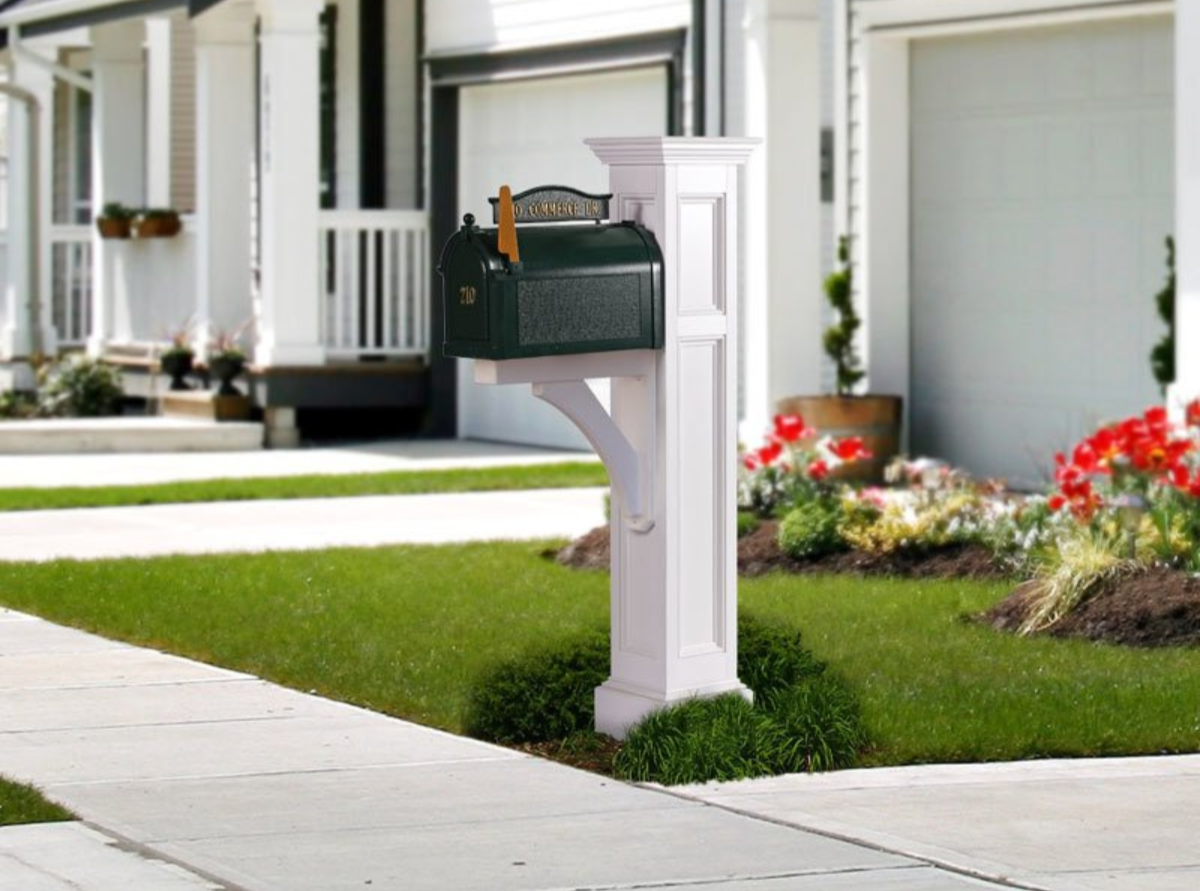
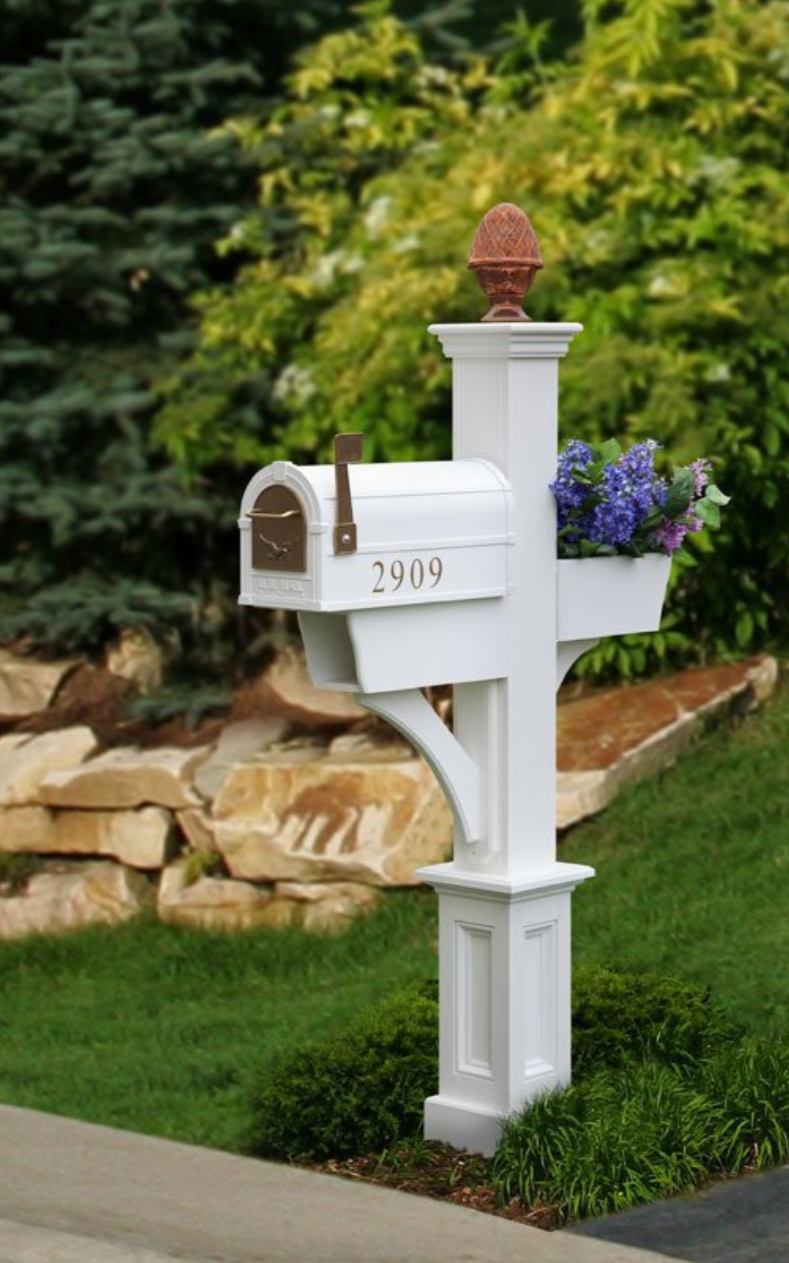
Start Here: Installing a Royal Crowne Mailbox Post
Your Royal Crowne mailbox post is ready to become part of your home’s first impression. Now it just needs a straight, secure installation.
This guide walks you through the basic process, from digging the hole and setting the 4x4 wood post to sliding the mailbox post sleeve into place and mounting your mailbox.
Use this page for the general steps. Keep your
downloadable PDF nearby for model-specific diagrams, hardware details, and assembly notes.
Download Your Model-Specific Installation Guide
Use the installation guides below for model-specific diagrams, hardware details, screw placement, and assembly references while installing your Royal Crowne mailbox post.
If you’re unsure which guide applies to your mailbox post, compare your product style and hardware before starting installation.
More Royal Crowne Installation Guides
What To Know Before You Install Your Amish Mailbox Post
Before you dig, take a few minutes to check the details that help your Amish mailbox post look right, stand strong, and meet local delivery requirements.
- Confirm your mailbox height and setback with local rules.
- Call before you dig if utilities may be nearby.
- Use a pressure-treated 4x4x84" wood post.
- Dig the hole 36" deep.
- Set the wood post in concrete for long-term stability.
- Let the concrete set before mounting the mailbox.
- Keep your model-specific PDF nearby while you work
Tools, Supplies, and What’s Included
Check your boxes before you start. Royal Crowne includes the key post components, but you’ll need a few tools and installation materials ready before you head outside.
Included With Your Royal Crowne Purchase
- Mailbox post
- Post cap
- Screws
- Mailbox support and brace assembly
- Mailbox mounting plate
- Touch-up kit, depending on model
Tools You’ll Need
- Shovel
- Level
- Tape measure
- Cordless drill
- #2 square drive bit
- 3/16" drill bit
- Wheelbarrow or mixing container
Purchased Separately
- Mailbox
- Pressure-treated 4x4x84" wood post
- Two bags of pre-mix concrete
Step-by-Step Mailbox Post Installation
Installing your Royal Crowne mailbox post is straightforward. Follow along carefully, keep your level nearby, and use your model-specific PDF for any hardware or diagram references unique to your post.

Step 1: Prepare the Hole and Wood Post
Start by choosing the location for your mailbox post and digging a hole approximately 36" deep. Before setting the post, confirm your local mailbox height and setback requirements.
Use a pressure-treated 4x4x84" wood post for the installation. Double-check the hole depth before moving to the next step.
Step 2: Set the Wood Post in Concrete
Fill the hole about three-quarters full with pre-mixed concrete, then insert the wood post and check it for level. Take your time here. A straight post now makes the rest of the installation much easier later.
Allow the concrete time to set before filling the remainder of the hole and continuing the installation.
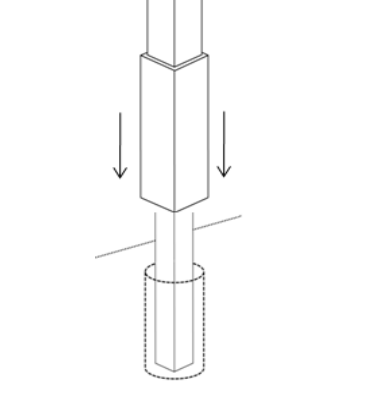
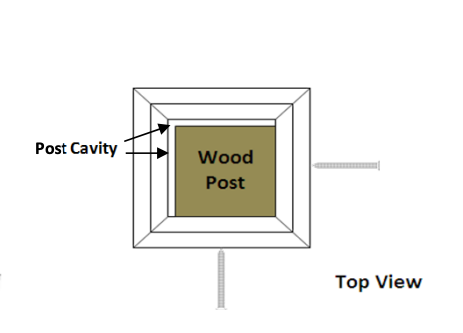
Step 3: Slide the Mailbox Post Sleeve Over the Wood Post
Once the concrete has set, slide the Royal Crowne mailbox post sleeve down over the wood post. Make sure the post is positioned correctly before fastening anything into place.
Pay close attention to the orientation of the post cavity and mailbox side during this step.
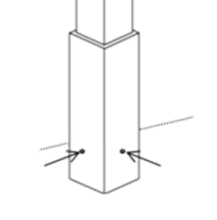
Step 4: Secure the Mailbox Post Sleeve
Pre-drill 3/16" pilot holes through the vinyl sleeve only, then secure the sleeve using the provided screws. Do not countersink the screws.
If your mailbox post has trim near the base, keep the screws positioned above the trim for a cleaner finish.
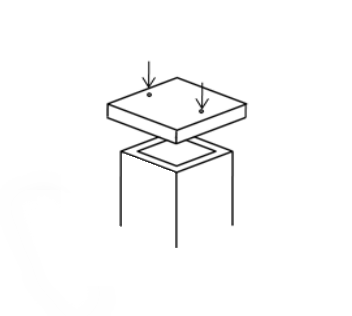
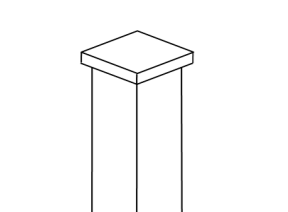
Step 5: Attach the Post Cap
Attach the post cap to the top of the mailbox post using the provided screws. Make sure the cap sits evenly before tightening everything down.
This is the step where the installation starts looking finished.

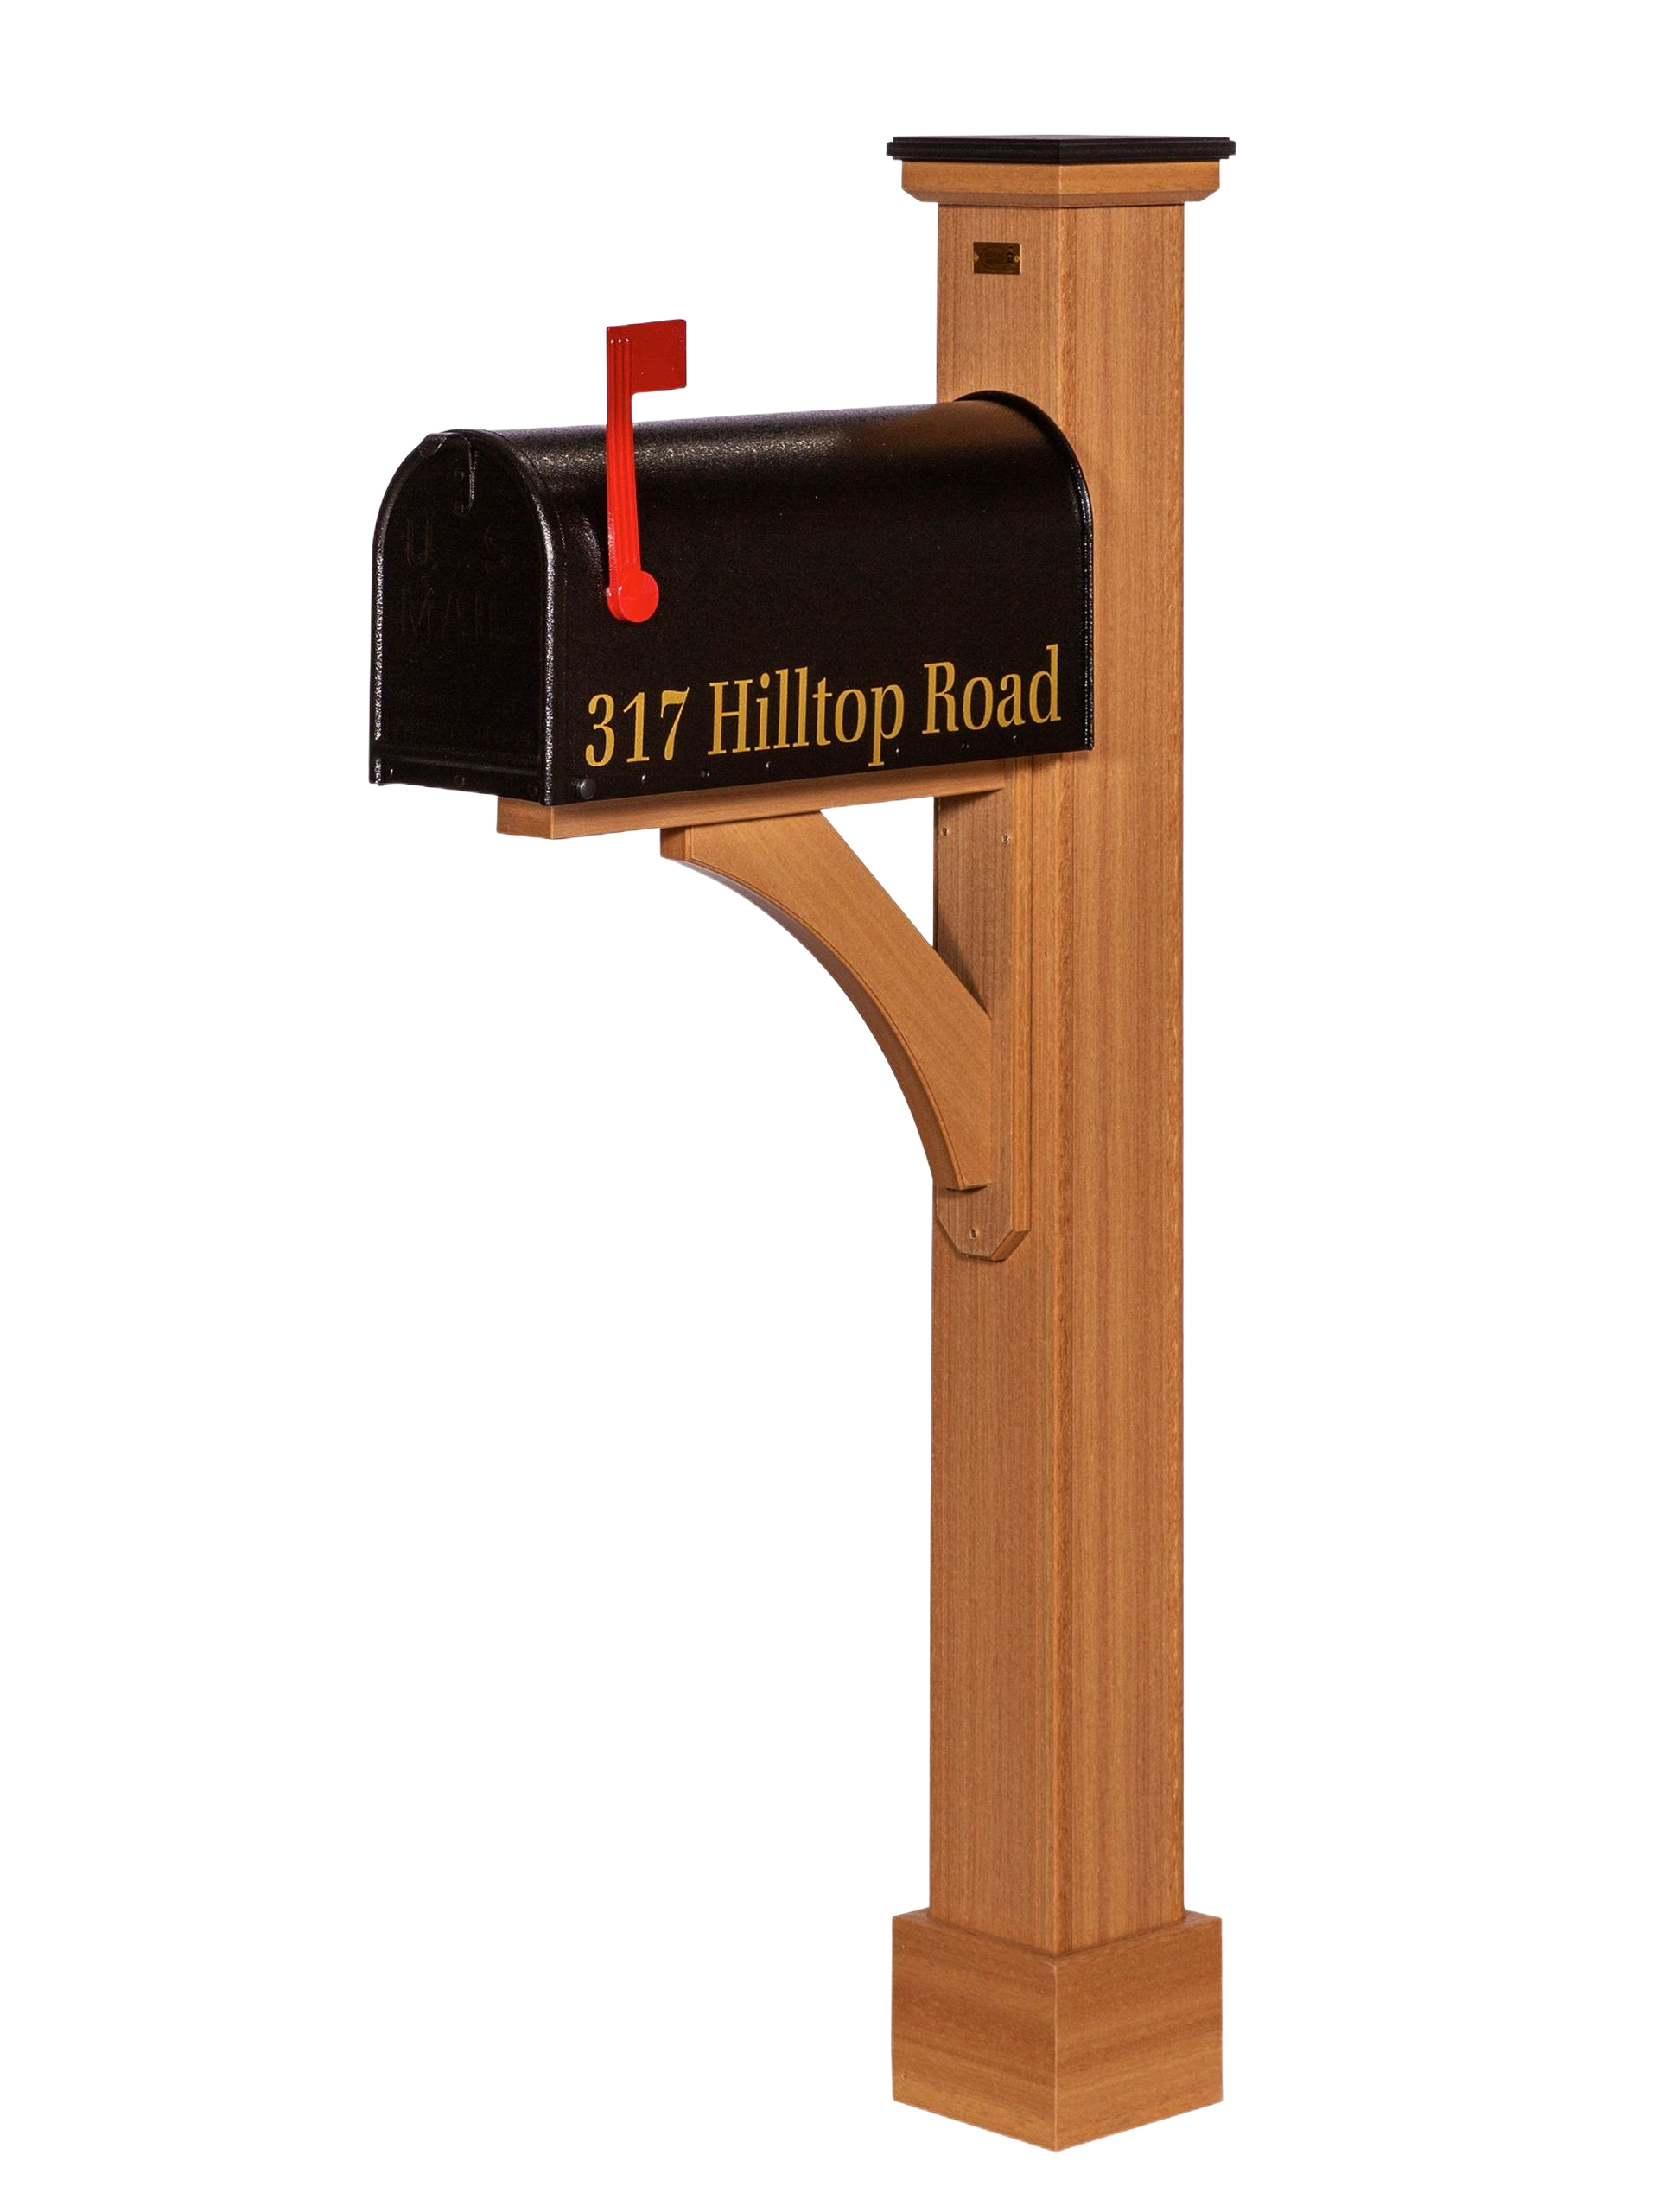
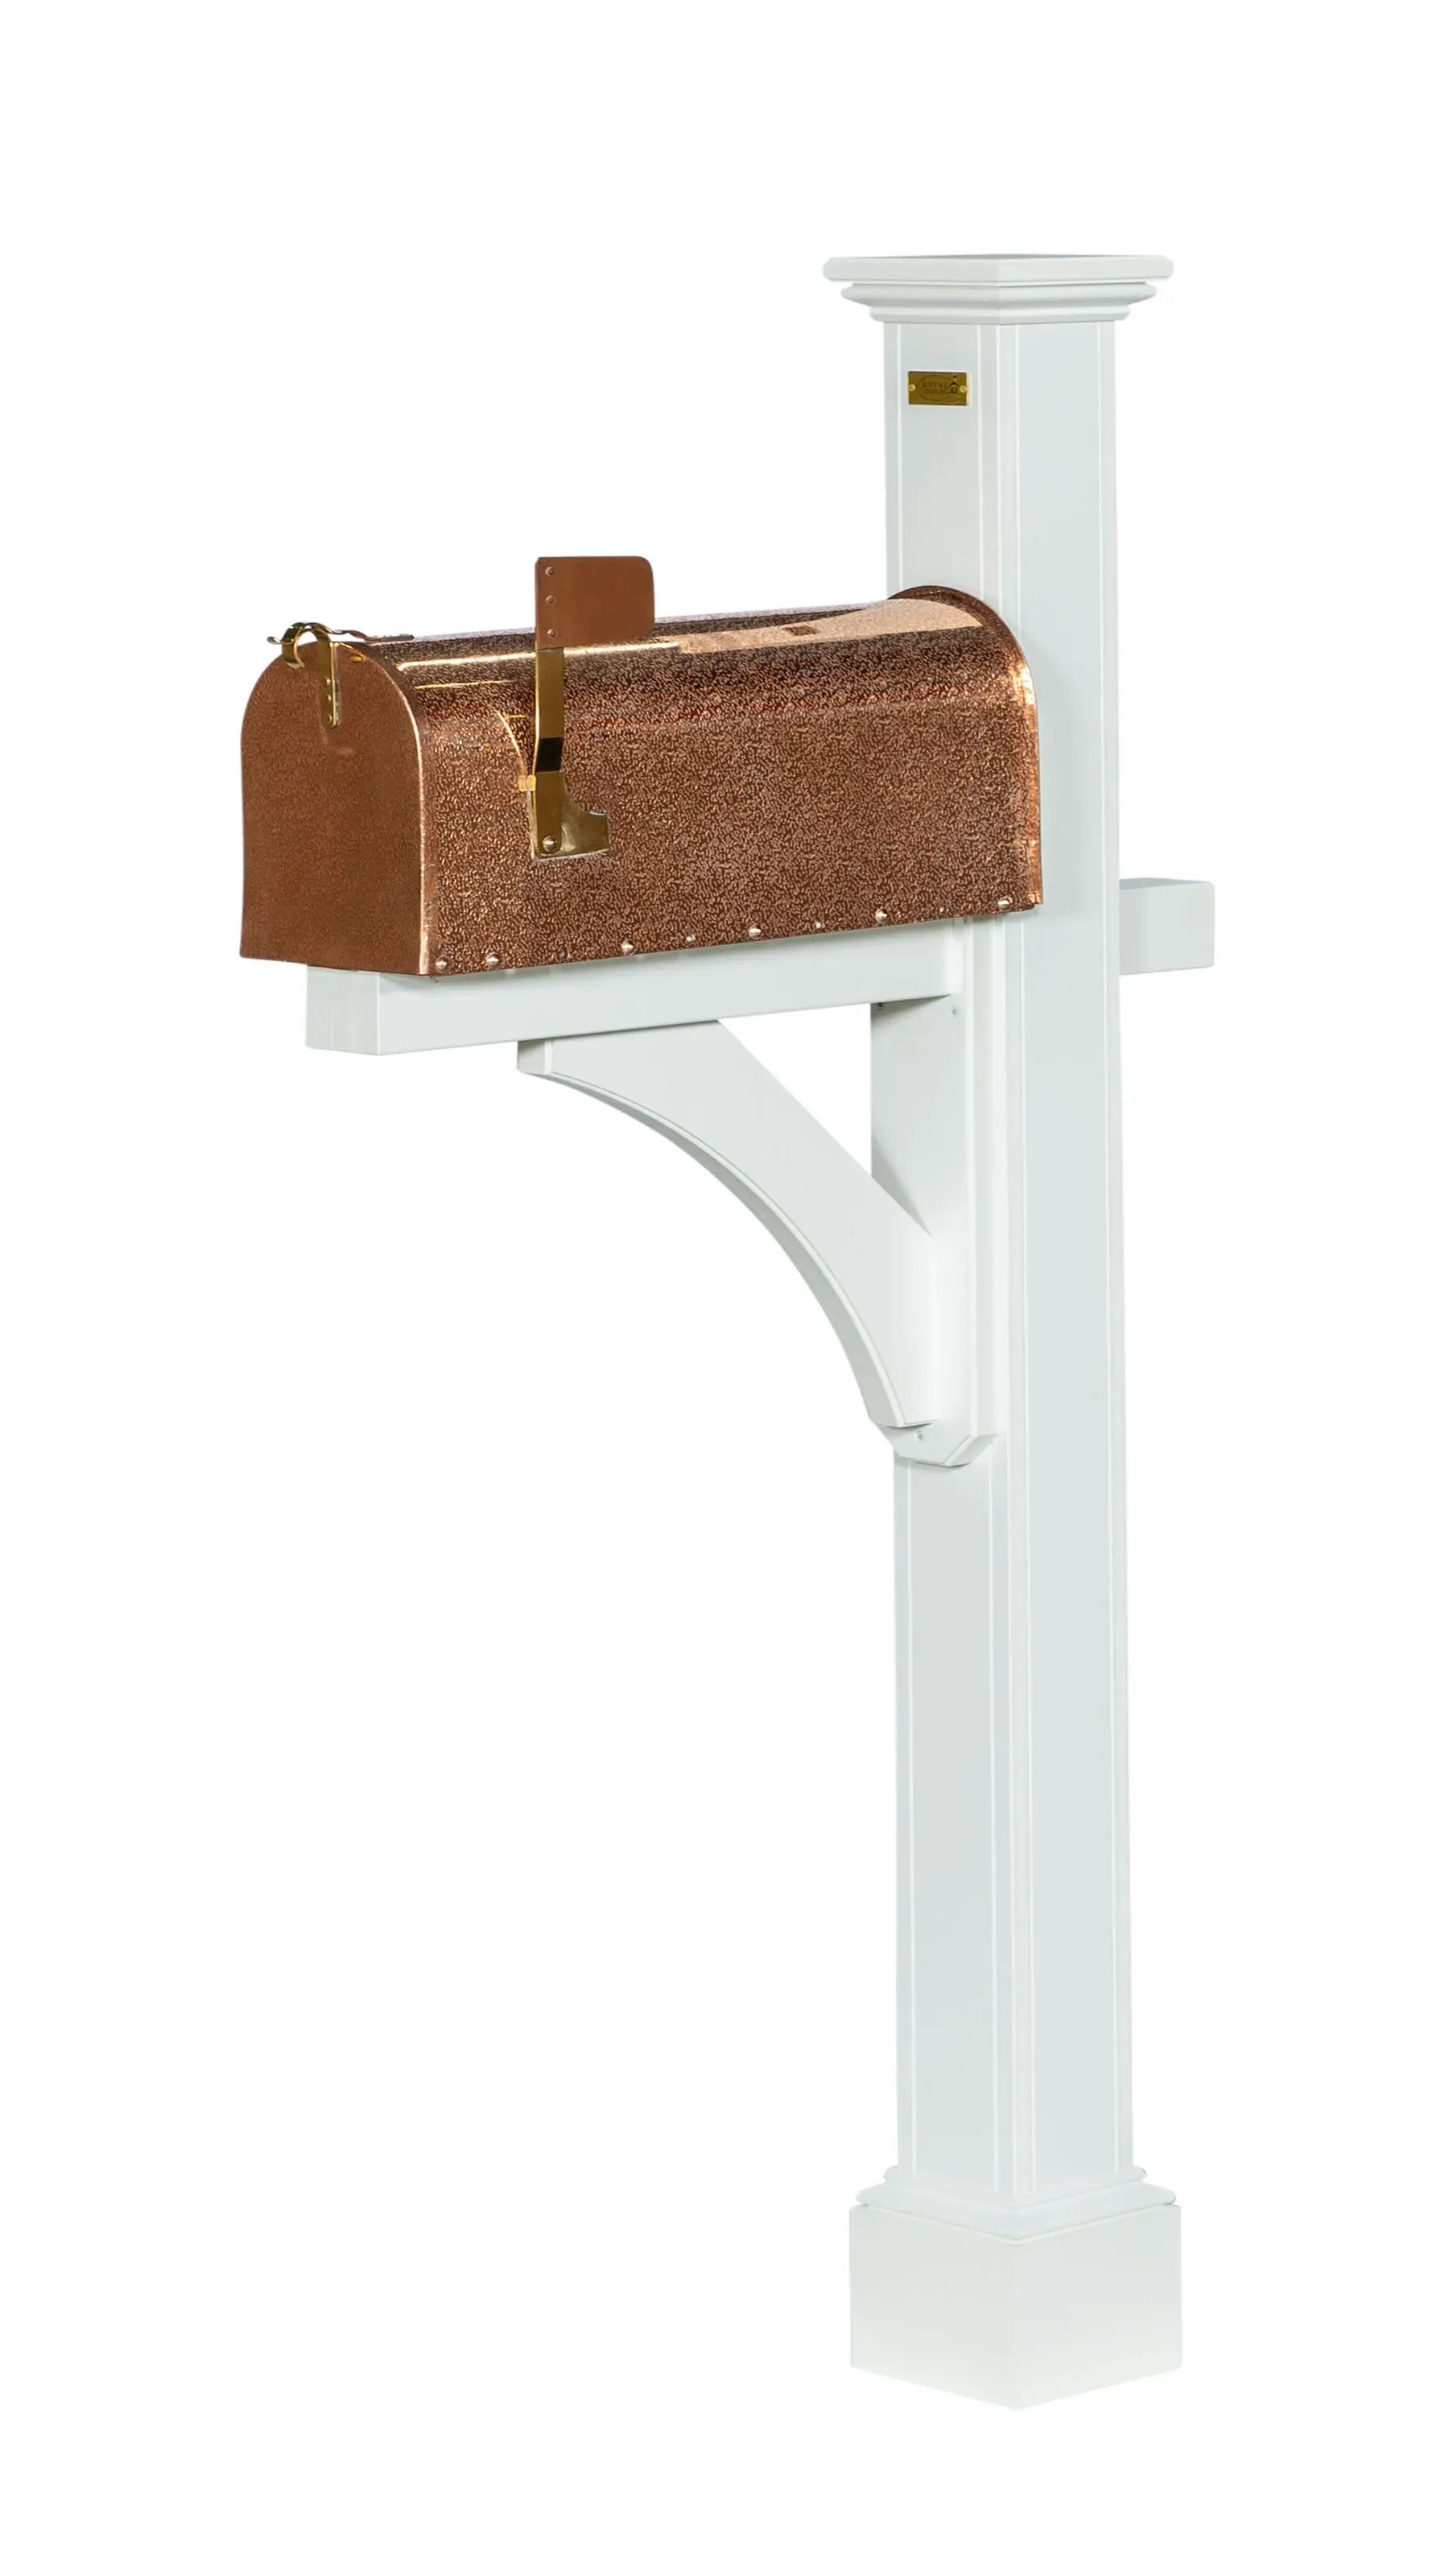
Step 6: Install the Mailbox Support Arm
Attach the post cap to the top of the mailbox post using the provided screws. Make sure the cap sits evenly before tightening everything down.
This is the step where the installation starts looking finished.
Step 7: Install the Mailbox on the Post
Attach the mounting plate to the support arm and align it with the mounting holes on your mailbox. Depending on the mailbox style, minor adjustments to the mounting plate may be needed for the best fit.
Once aligned, secure the mailbox using the appropriate mounting hardware.
Can You Install a Mailbox Post Without Concrete?
Some homeowners look for ways to install a mailbox post without concrete, especially when replacing an older post or working with loose soil. While alternatives like gravel or anchoring systems exist, Royal Crowne recommends setting the wood post in concrete for the strongest and most stable long-term installation.
Concrete helps keep the mailbox post straight, secure, and better protected against shifting ground, weather, and daily use over time.
Can You Put Cement Inside a Mailbox Post?
No. You should not fill a mailbox post with cement. While it may seem like a way to strengthen the post, a rigid, cement-filled mailbox post can pose a safety hazard if a vehicle hits it. It may also violate local mailbox placement rules.
Royal Crowne mailbox posts are designed to slide over a pressure-treated 4x4 wood post that is set in concrete below ground. Before modifying your mailbox post-installation, check local codes and contact your postmaster if you have questions about approved mailbox construction or placement.
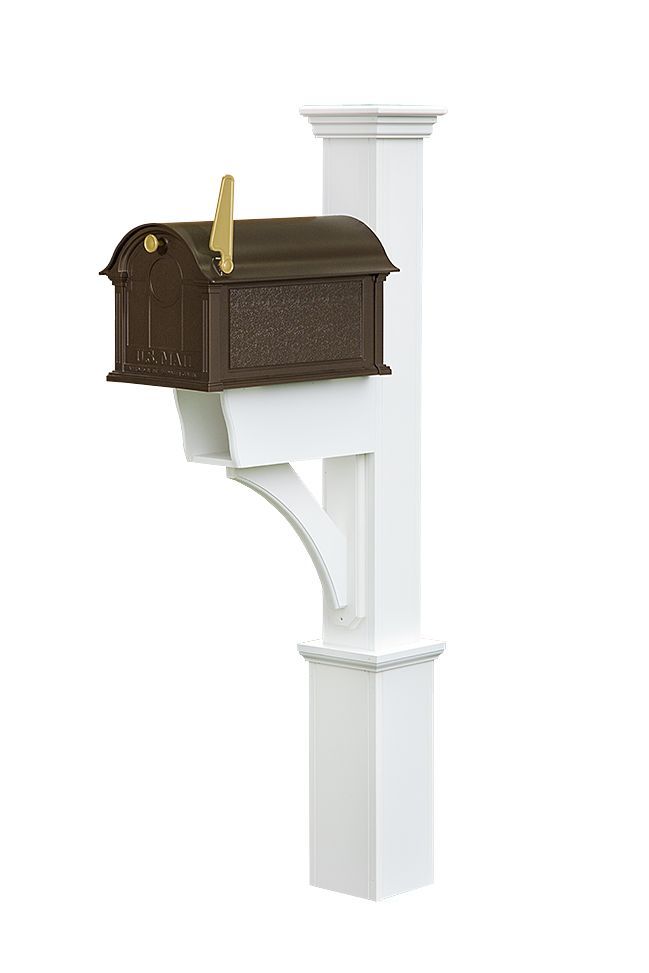
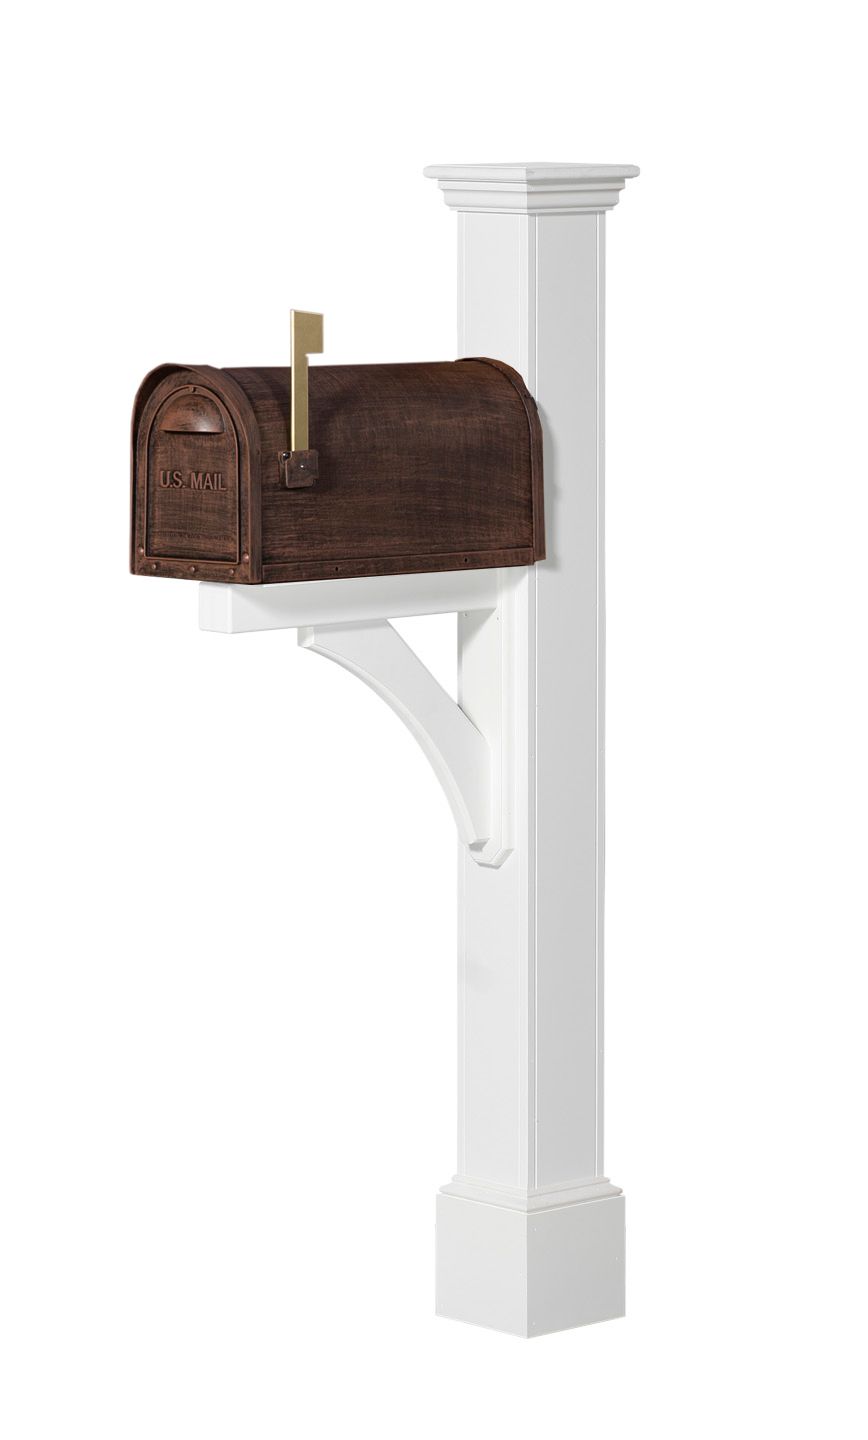
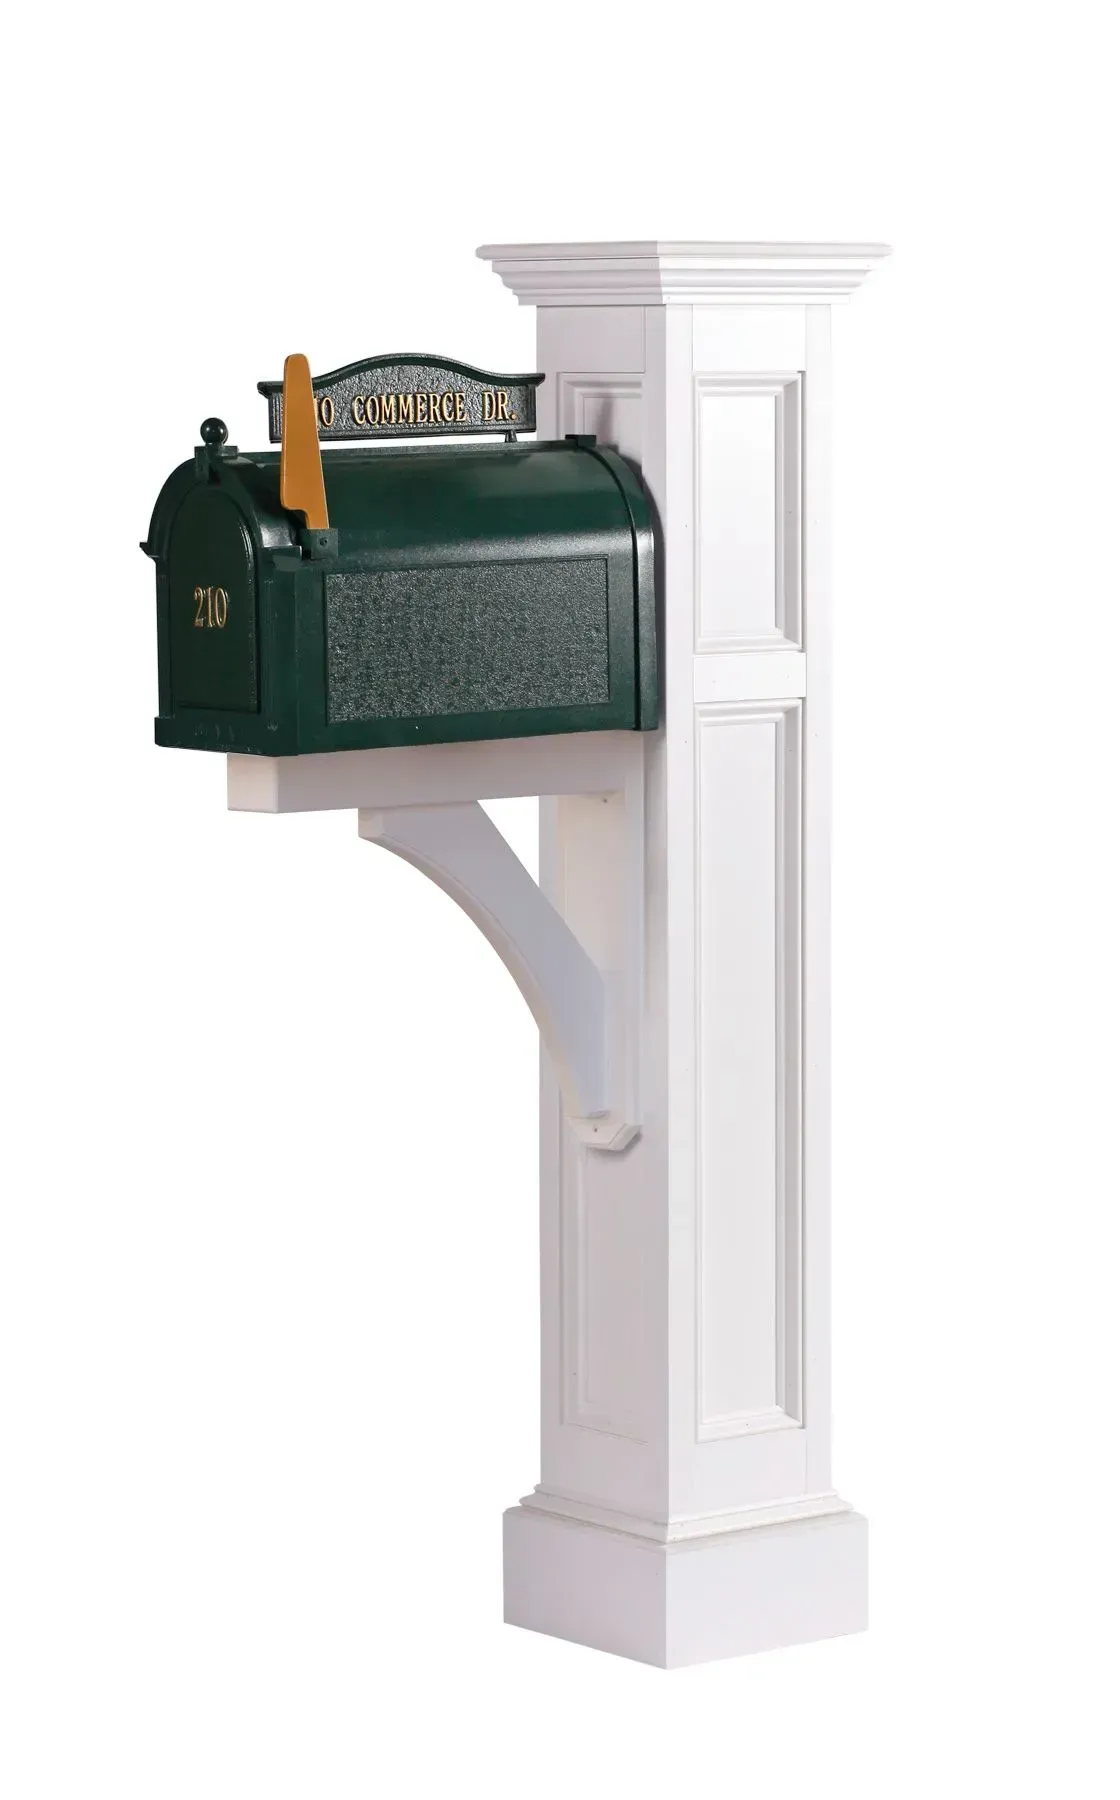
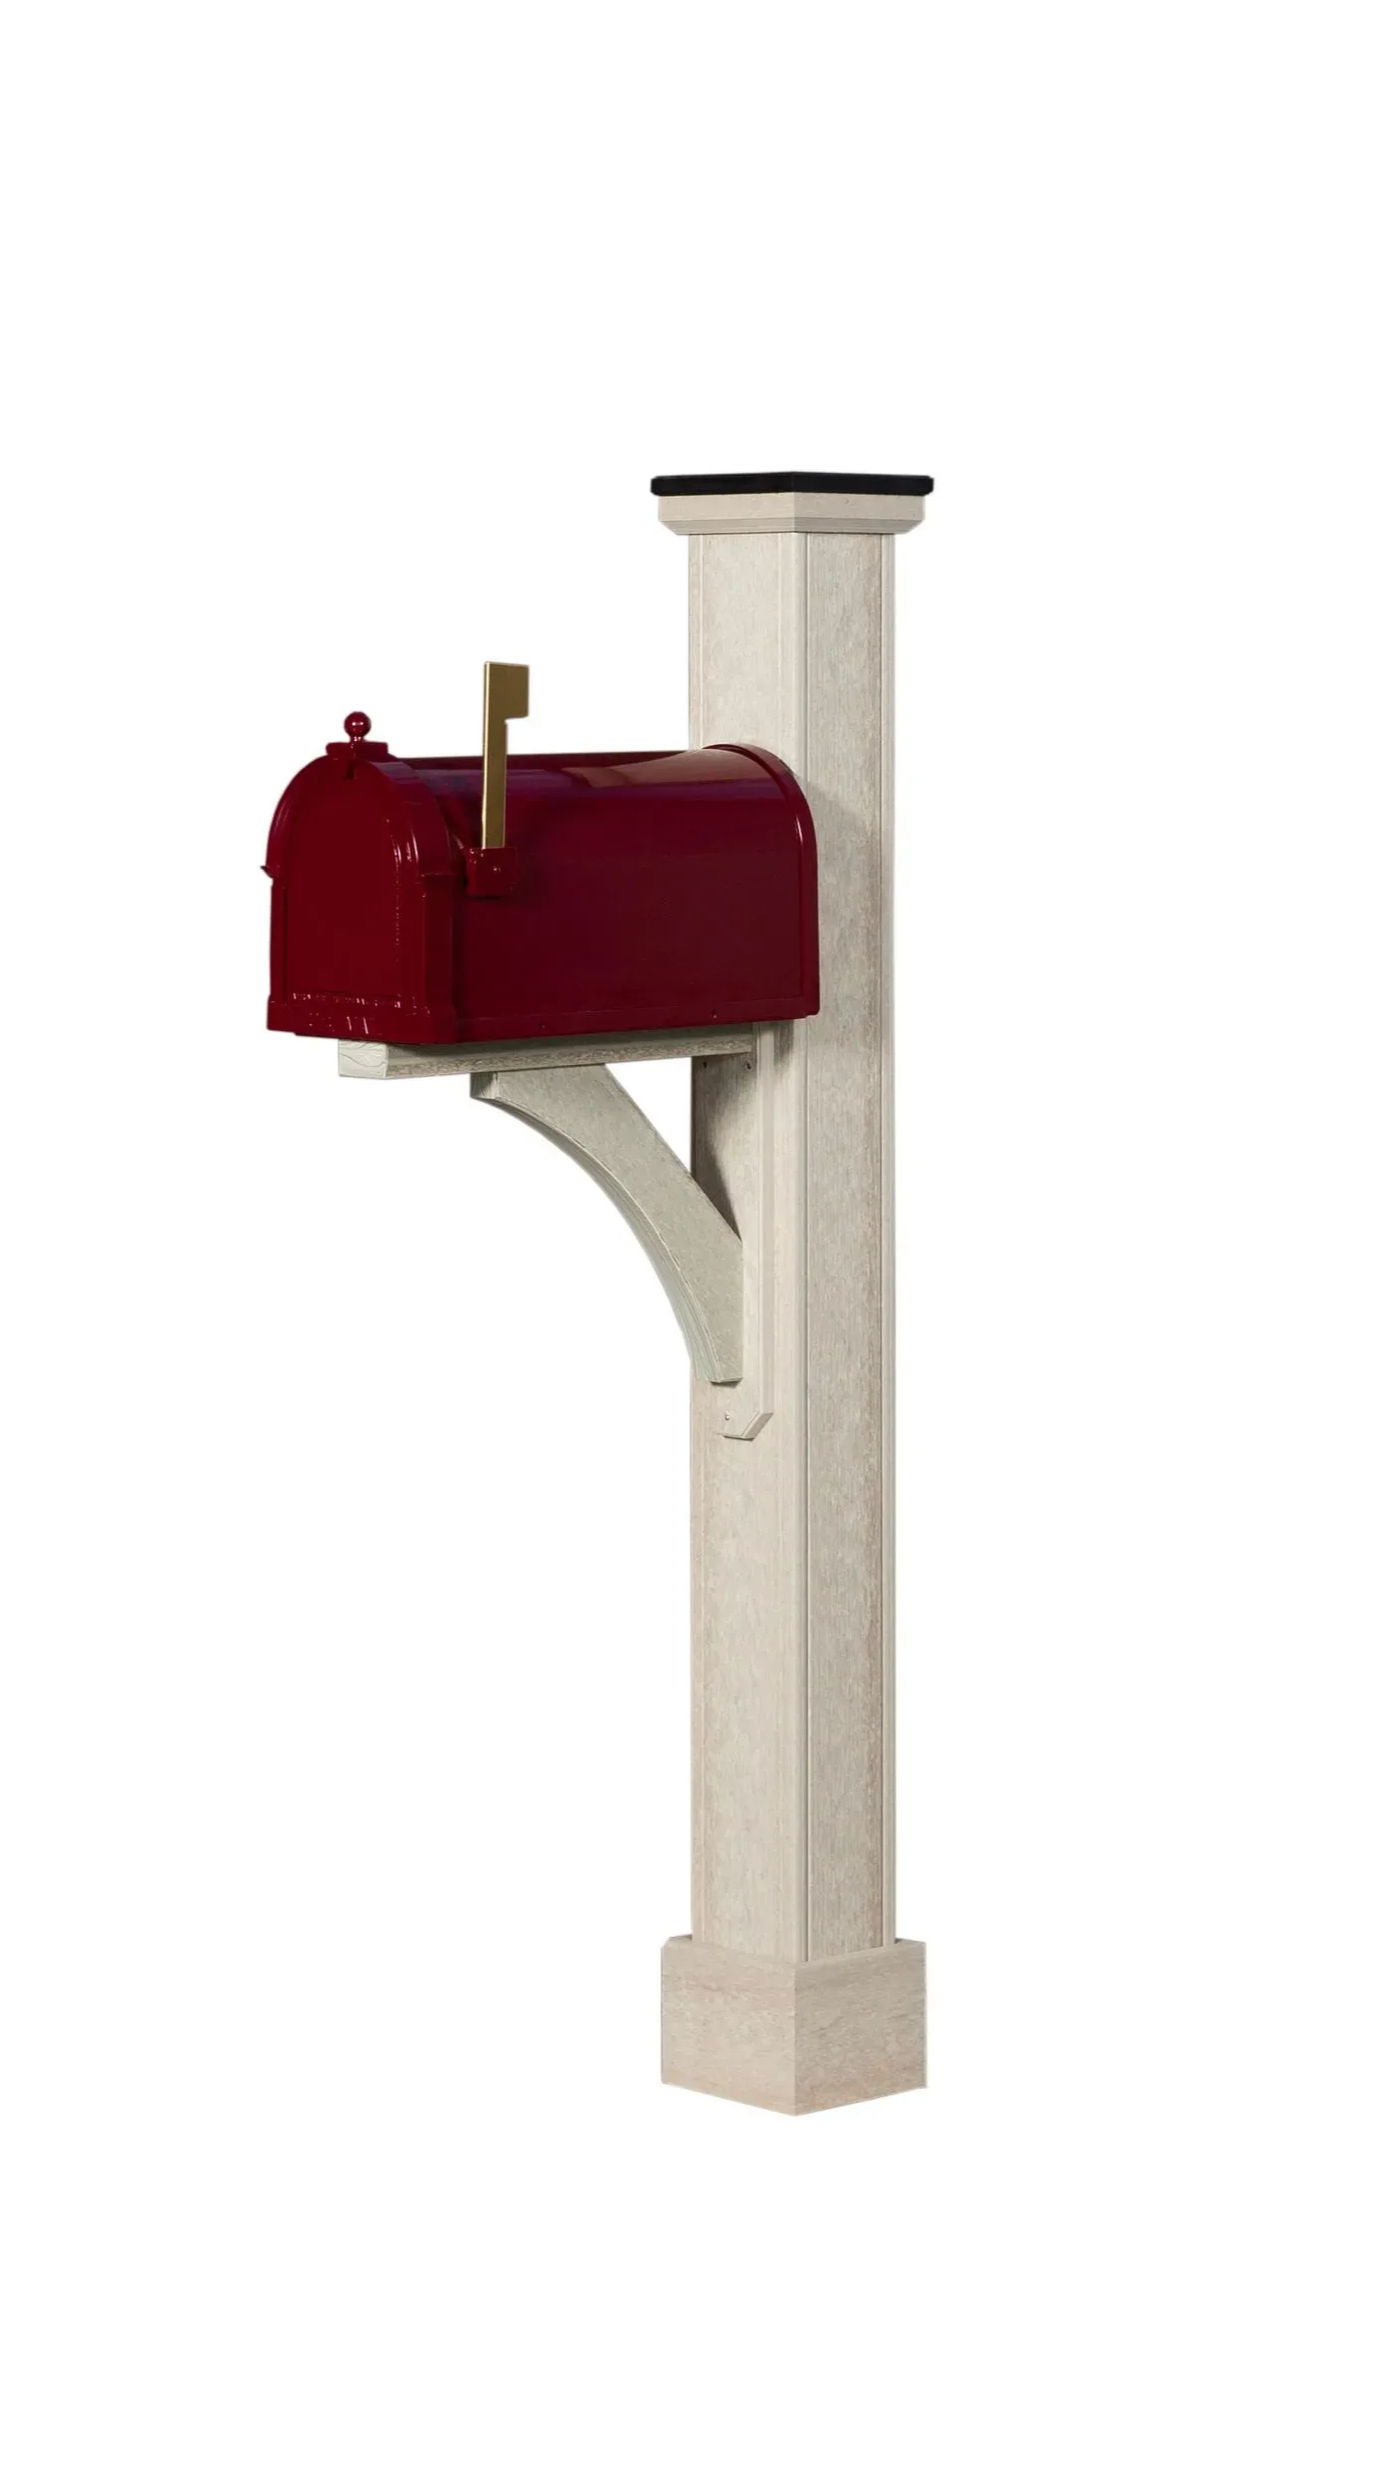
Featured Royal Crowne Mailbox Post Models
Royal Crowne offers a variety of handcrafted mailbox post styles designed to complement different homes, driveways, and curb appeal preferences. Explore some of our most popular mailbox post models below and use the product pages for additional specifications, finishes, and design options.
Cheyenne
A clean, simple mailbox post with bottom trim details that work well with both traditional and modern homes.

Annapolis
The Annapolis mailbox post features a timeless square profile that gives your mailbox setup a classic, balanced appearance.
Dover
The Dover mailbox post adds extra visual weight with a boxed base, creating a more substantial finished look near the curb.
Hartford
The Hartford mailbox post combines clean lines with subtle bottom trim details for a polished, traditional appearance.

Madison
Raised panel detailing gives the Madison mailbox post a more refined architectural look while maintaining the same durable Royal Crowne construction.
Providence
A beautiful mailbox post designed to complement your home.
Santa Fe Poly
Built with durable poly lumber and woodgrain textures, the Santa Fe Poly mailbox post offers a more rustic appearance with low-maintenance durability.
Frequently Asked Questions About Mailbox Post Installation
How deep should a mailbox post be buried?
Most Royal Crowne mailbox post installations use a hole approximately 36" deep with a pressure-treated 4x4 wood post set in concrete. This helps create a stable foundation that can hold up to weather, shifting ground, and everyday use.
What size wood post do I need for a mailbox post?
Royal Crowne mailbox posts are typically installed over a pressure-treated 4x4x84" wood post. Always review your model-specific installation guide before starting installation.
How high should a mailbox be from the ground?
Most mailbox installations position the bottom of the mailbox around 42" from the ground. Before final installation, check your local mailbox placement requirements and setback guidelines.
Can I install a mailbox post without concrete?
Some homeowners use gravel or alternative anchoring systems, but Royal Crowne recommends setting the wood post in concrete for the strongest and most stable long-term installation.
Can I install a mailbox on an existing post?
Compatibility depends on the size, condition, and stability of the existing post. In many cases, replacing the old post with a properly installed pressure-treated 4x4 provides the best long-term results.
Do Royal Crowne mailbox posts include the mailbox?
Mailbox inclusion depends on the model and configuration you purchase. Most installations require the mailbox itself to be purchased separately. Always review the product listing and installation guide for details on included components and hardware.
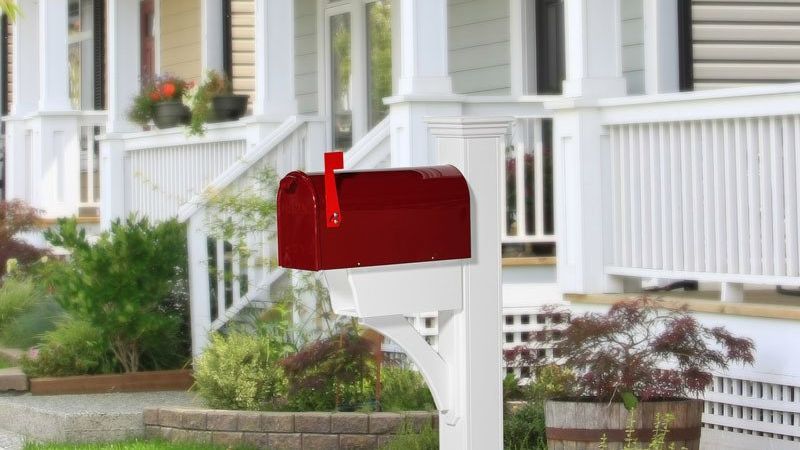
Install a Mailbox Post That Completes Your Home’s Curb Appeal
A properly installed mailbox post helps your home look finished, welcoming, and well cared for from the curb. Whether you’re replacing an older post or upgrading your exterior, the right installation creates a cleaner, straighter, longer-lasting result.
Royal Crowne mailbox posts are designed for timeless curb appeal and durable everyday performance. Use the steps and downloadable guides above to confidently install a mailbox post that looks secure and built to last for years with your home.