How to Install Your Royal Crowne Lamp Post
A step-by-step installation guide for Royal Crowne Standard lamp posts, Eco, and Tapered lamp post instructions.
Start Your Lamp Post Installation With the Right Guidance
Learning how to install a lamp post is easier when you have the right guide in front of you. This Royal Crowne guide walks you through the standard lamp post installation process, including post preparation, concrete installation, wiring, and fixture setup.
If you’re installing an Eco or Tapered lamp post, you’ll also find model-specific instructions below to keep your project moving. By the end, you’ll give your outdoor space that warm, welcoming glow you’ll love coming home to each night.

Download the Correct Lamp Post Installation Guide
Royal Crowne offers separate installation instructions for Standard, Eco, and Tapered lamp posts. Download the guide that matches your model before you begin.
Standard Lamp Post Installation Guide
Use this guide for the main step-by-step process covered on this page.
Eco Lamp Post Installation Guide
Use this guide for Eco lamp post hardware and assembly details.
Tapered Lamp Post Installation Guide
Use this guide for tapered post prep, including the routed wiring channel.
What’s Included With Your Royal Crowne Lamp Post Kit
Before you begin your lamp post installation, make sure you have all the required materials ready and verify which components are included with your post.
Included With Your Royal Crowne Lamp Post
- Lamp post assembly
- Post cap
- Installation screws and mounting hardware
- Touch-up kit (Standard and Tapered models)
Purchased Separately
Most installation materials can be purchased at your local hardware store.
- Pressure-treated 4x4 post
- Pre-mix concrete
- Electrical wiring and conduit
- Lamp fixture/lantern
- Drill bits and installation tools
You can purchase compatible lantern heads directly from Royal Crowne’s Lantern Designs Collection.
Before You Begin
A smooth lamp post installation starts with a clear game plan.
We advise that any electrical work be handled by a qualified professional, and that all digging, wiring, placement, and exterior changes comply with local, utility, community, and HOA requirements.
Confirm Your Lamp Post Model
Royal Crowne Standard, Eco, and Tapered
lamp posts follow similar installation steps, but each model includes different hardware, prep work, and wiring considerations. Download the matching PDF guide above before starting your installation.
Gather Tools and Materials
Have your tools, concrete, 4x4 post, wiring materials, and fixture ready before installation begins. Once concrete work starts, you do not want to stop the project to track down missing materials.
Choose the Installation Location
Choose a stable, approved location with enough clearance for digging, wiring, fixture installation, and future maintenance. Common locations include walkways, driveways, front entrances, and landscape beds.
Check Utility Lines & Electrical Requirements
Contact your local municipality or utility locating service before digging. Outdoor electrical work should be handled by a qualified professional and completed in accordance with all local codes, safety standards, and property requirements.
Quick Lamp Post Installation Overview
- Confirm your Royal Crowne lamp post model.
- Gather tools, materials, and wiring components.
- Choose and prepare the installation location.
- Dig a 36-inch hole and set the pressure-treated 4x4 in concrete.
- Run wiring through the post cavity.
- Slide the lamp post over the 4x4 and fasten it into place.
- Attach the post cap and install the lamp fixture.
- Clean and touch up the finished installation.
Clean and Finish Your Lamp Post Installation
Once the post is secured and the fixture is installed, the final cleanup is what brings the whole project together. A properly installed lamp post does more than add light. It adds warmth, visibility, and a finished look that stands out every time you pull into the driveway.
Clean the Lamp Post Surface
After installation, clean the post with household detergent to remove dirt, dust, or smudges from handling.
Use the Touch-Up Kit If Needed
For Standard and Tapered models, use the included touch-up kit sparingly on hard-to-clean marks.
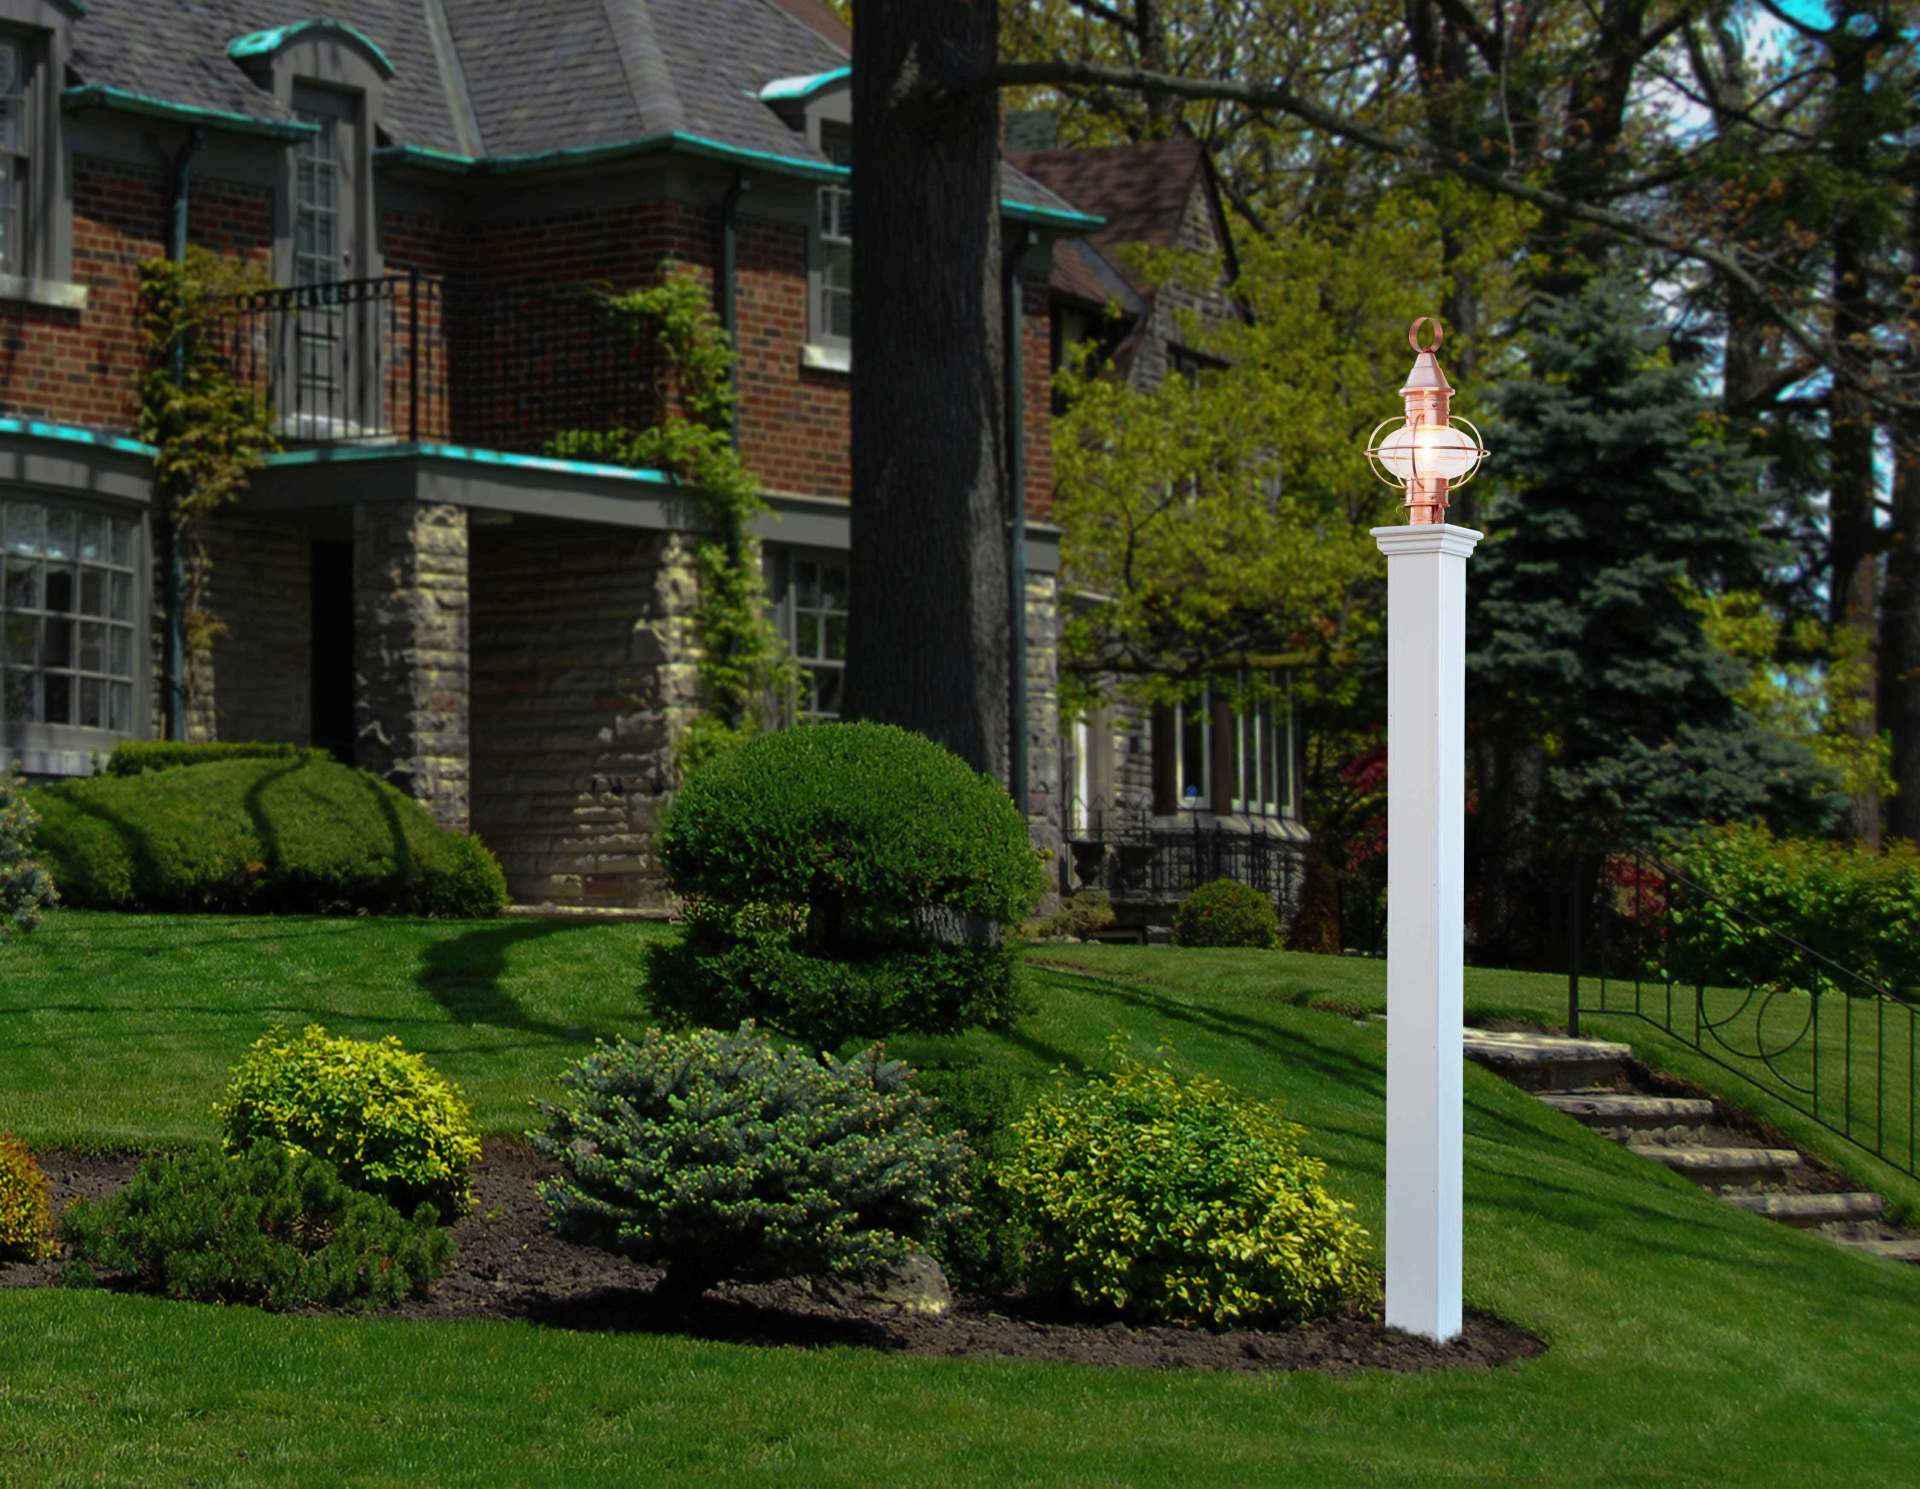
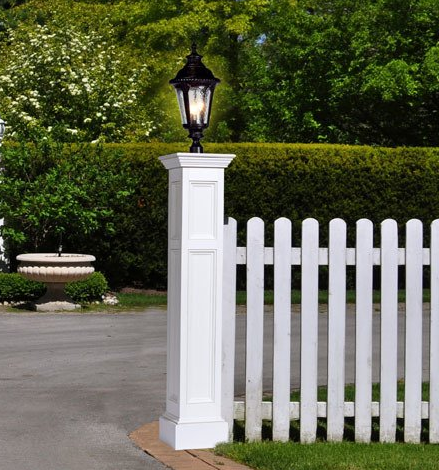
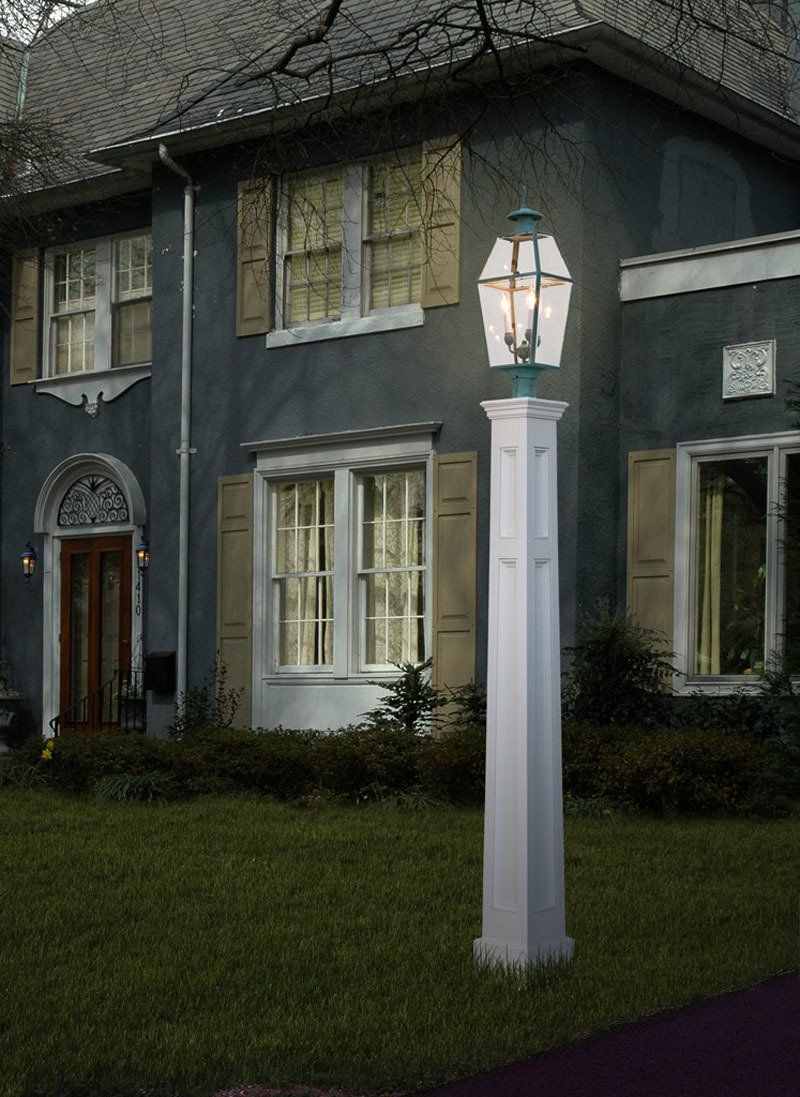
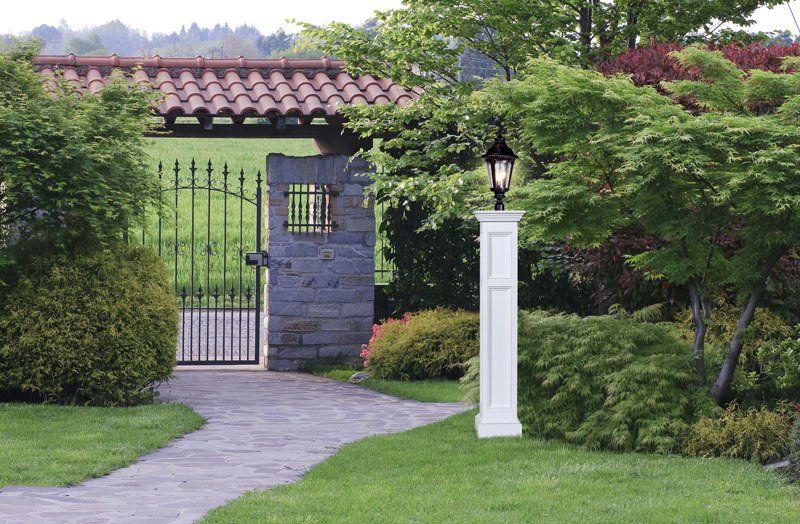
Explore Royal Crowne Lamp Posts and Lanterns
The right lantern-and-post combination can completely change how your home looks after sunset. From front walkways to long driveways, Royal Crowne lampposts help create a welcoming, secure glow and lasting curb appeal for your outdoor space.
More Royal Crowne Installation Guides
The right lantern-and-post combination can completely change how your home looks after sunset. From front walkways to long driveways, Royal Crowne lamp posts help create a welcoming, secure glow and lasting curb appeal to your outdoor space.
More Royal Crowne Installation Guides
Find more Royal Crowne installation resources for cupolas, mailbox posts, lamp posts, and future home accent guides.
How deep should a lamp post be buried?
Royal Crowne’s Standard lamp post instructions call for a 36-inch-deep hole so the pressure-treated 4x4 post can be buried securely before concrete is added.
Can you install a lamp post without concrete?
Royal Crowne’s standard installation process uses concrete for stability. A no-concrete installation may not provide the same support, especially for a permanent outdoor lamp post exposed to weather, soil movement, and daily use.
Do you need an electrician to install a lamp post?
Yes, outdoor electrical work should be handled by a qualified electrician. A professional can help ensure that wiring, connections, and fixture installation comply with local electrical codes and safety requirements.
How do you run wiring to an outdoor lamp post?
For Standard lamp posts, wiring runs through the internal cavity of the post before the lamp fixture is installed. Tapered lamp posts require a routed wiring channel in the 4x4 post, so always use the correct model-specific PDF.
Where should you install a lamp post in your yard?
Common locations include driveways, walkways, front entrances, and landscape beds. Choose a stable, approved location where the lamp post can improve visibility and provide enough clearance for digging, wiring, and maintenance.
What type of 4x4 post should be used for a lamp post?
Royal Crowne’s installation instructions call for a pressure-treated 4x4 wood post. The Standard and Eco guides reference an 8-foot-long 4x4, while the Tapered guide requires a 74-inch or longer 4x4.
How tall should an outdoor lamp post be?
Royal Crowne lamp post height varies by model. Many Royal Crowne lamp posts are listed at 76 inches high, but installers should confirm the exact height and installation details for their specific Standard, Eco, or Tapered model before starting.
Install a Lamp Post That Lights the Way Home
With the right preparation and a handcrafted Royal Crowne post, you can add lasting curb appeal, better visibility, and a warmer welcome after dark. Explore Royal Crowne lamp posts to find the style that fits your home, then use this guide whenever you’re ready for how to install a lamp post.