How to Install a Cupola on Your Roof
Step-by-step guide for a simple, successful rooftop cupola installation
Start Here: Installing a Cupola Made Easy
Adding a Royal Crowne cupola is a simple project you can take pride in. This guide shows you exactly how to install a cupola on a shed, home, barn, or business roof, with clear steps, a video you can follow along with, and helpful PDF guides. If you have questions before, during, or after the process, our team is here to help — contact us anytime.
A cupola adds more than function — it elevates your roofline and your property. Inspired by the craftsmanship of Lancaster County, Royal Crowne cupolas bring a timeless detail that stands tall on homes and businesses alike, turning an ordinary roof into a statement piece.
Getting Started: Prep Before You Install
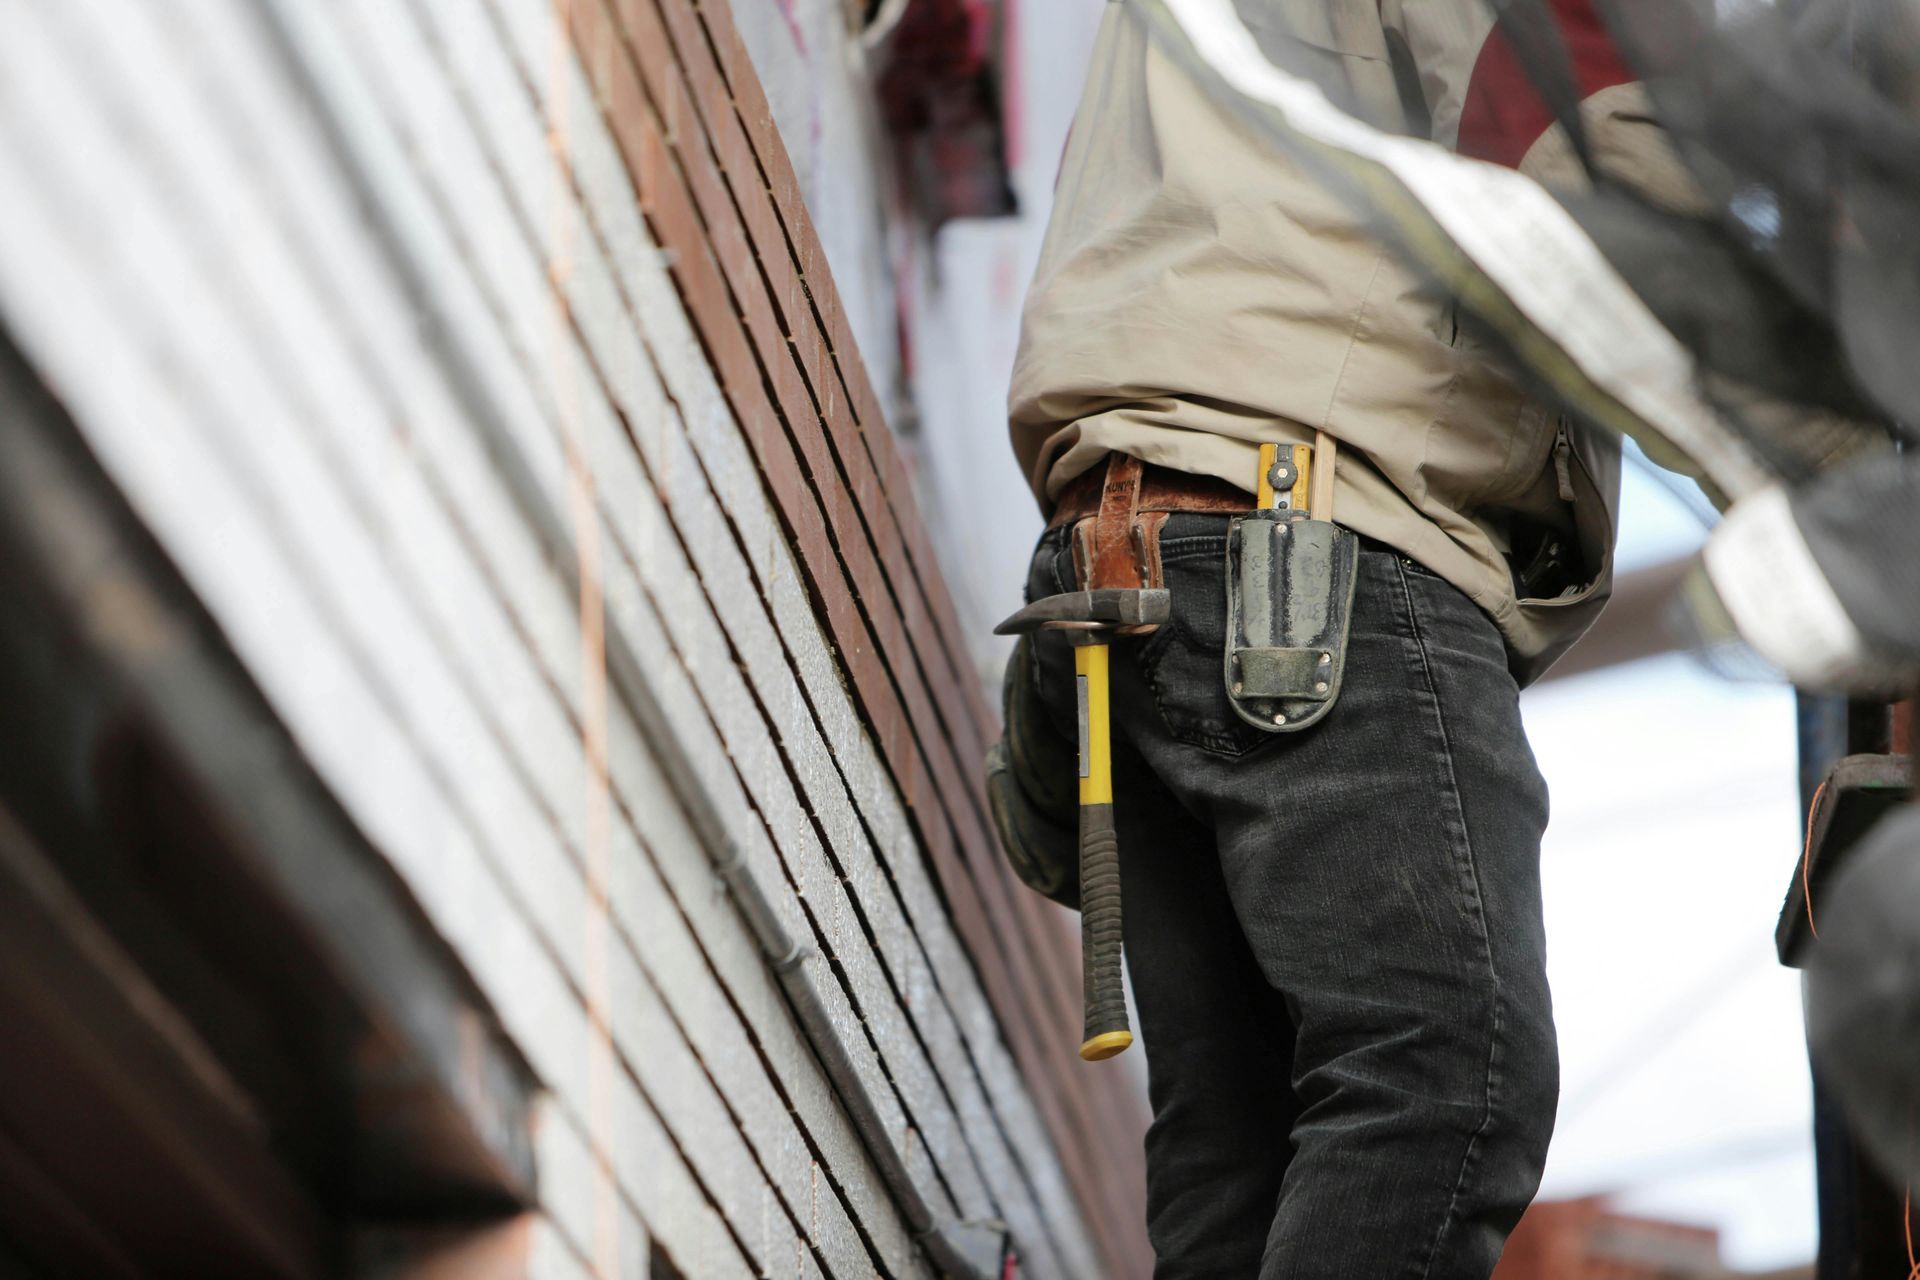
Before you begin, take a few minutes to set your project up for success. A little planning will make the installation go smoother and safer.
- Check permits: Some towns require approval for roofline changes. Confirm before you start building.
- Inspect your roof: Make sure the surface is stable, dry, and safe to work on.
- Clear the area: Look for overhead tree branches or obstructions that could damage the cupola.
- Stay safe inside: Check the space under the installation area for electrical wires or utilities before cutting.
With these basics covered, you’re ready to move into the first step — choosing the right size cupola for your roof.
Step-by-Step: Cupola Installation Instructions
These cupola installation instructions work for homes, sheds, and barns. If you’re installing on a metal roof, add extra flashing where noted.
Note: Each step below includes a timestamp. You can jump to that point in the installation video for extra guidance.
Step 1 — Choose the right size cupola (0:11)
- Measure the roof length in feet.
- Multiply by 1.25 to get the cupola size in inches.
- Example: 24 ft × 1.25 = 30-inch cupola.
- Your cupola arrives in three parts: base, midsection, roof.
Step 2 — Gather tools and materials (0:45)
- Tape measure
- Square
- Pencil
- Drill with #2 square drive bit
- Circular saw or jigsaw
- Level
- Two adjustable wrenches
- Flat screwdriver
- Two 1×3 boards (for an angle jig)
- Four 2×4 blocks (pressure-treated)
- Twelve 3" deck screws or lags
- 2" screws
- Flashing for the roof peak
- Clear silicone and a caulk gun
- Use a sturdy ladder and, if possible, a helper
Step 3 — Mark and cut the roof opening (1:13)
- Find and mark the center of the roof ridge.
- Measure 15 inches on each side of the center line.
- Remove that section of ridge cap.
- Make a jig: screw two 1×3s together so they pivot, then lock the angle.
- Draw a centerline on both sides of the cupola base.
- Use the jig to trace cut lines onto the base.
- Cut along the traced lines with a circular saw or jigsaw.
- Repeat the process on the opposite side.
- Trim the two solid sides so the base sits snug against the roof.
Step 4 — Flash and set the base (2:38)
- Slide a piece of flashing into the gap where you removed the ridge cap.
- Place the cupola base on the roof.
- Use a level to make sure the base sits straight and even.
Step 5 — Block and secure the base (3:13)
- Cut 2×4 blocks to fit inside the cupola base.
- Screw the blocks to the angled walls with 3" screws.
- Screw the blocks down into the roof.
- From the outside, attach the cupola base to the blocks with 2" screws — two screws per block.
- Seal the sides of the base with clear silicone.
Step 6 — Attach the midsection (3:59)
- Place the midsection on top of the base.
- Use the pre-drilled holes and 2" screws to secure it.
Step 7 — Install a weathervane on a cupola (4:21)
- Assemble the rods with wrenches.
- Insert the rod through the cupola roof; leave about 12 inches above.
- Tighten bolts inside the roof to hold the rod.
- Add the large copper ball, the directionals (N-S, E-W), then the small copper ball.
- Point the directionals to true north-south and east-west.
- Snug the bolts — do not overtighten.
- Place the weathervane figure on top.
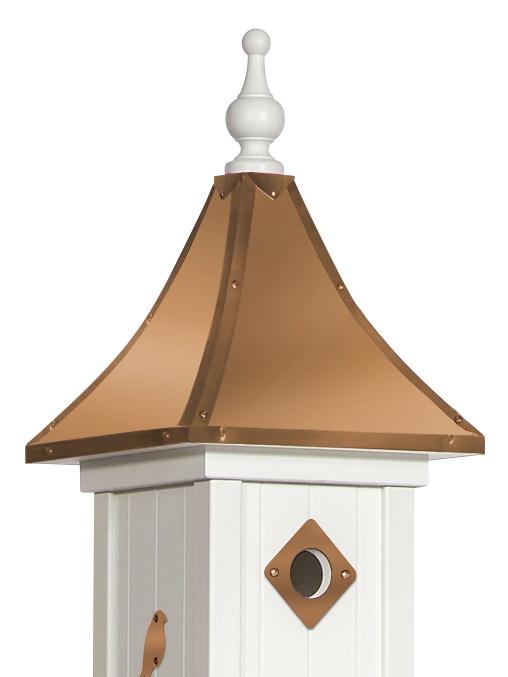
Step 8 — Install the cupola roof (5:26)
- Set the roof section on top of the midsection.
- Use the pre-drilled holes and 2" screws to secure it.
- Check the alignment and make sure everything feels solid.
Final Check
Once the roof is secure, look over the entire cupola. Confirm that all screws are tight and the base sits level. Run a bead of silicone along the seams to keep water out.
After the first rain, check the attic or the ceiling beneath the installation. If you see any moisture, reseal the joints for extra protection. Taking a few minutes now helps ensure your cupola stays strong and weather-tight for years.
Downloadable Cupola Installation PDFs
Lamp & Mailbox Posts Installation PDFs
Mailbox Post Assembly Instructions (pdf)
Eco-Lamp Post Assembly Instructions (pdf)
Eco-Mailbox Post Assembly Instructions (pdf)
Lamp Post-standard Assembly Instructions (pdf)

Barn Cupolas: Handcrafted in Amish Country
Drive through Lancaster and you’ll see barns and farmsteads marked by cupolas on the horizon. They rise above the fields like quiet beacons — a wave hello, a sign of welcome, a reminder of home.
A Royal Crowne barn cupola carries that same spirit. Handcrafted in Amish Country, each one is built to stand tall, to greet neighbors and travelers alike, and to give your barn a timeless presence in the landscape.
Celebrate the Finishing Touch
At Royal Crowne, craftsmanship goes hand in hand with service. This guide proves it.
We don’t just build cupolas — we help you install them with confidence. That extra care is what sets us apart.
When you choose Royal Crowne, you get more than a product. You get guidance, support, and the pride of knowing exactly how to install a cupola the right way.